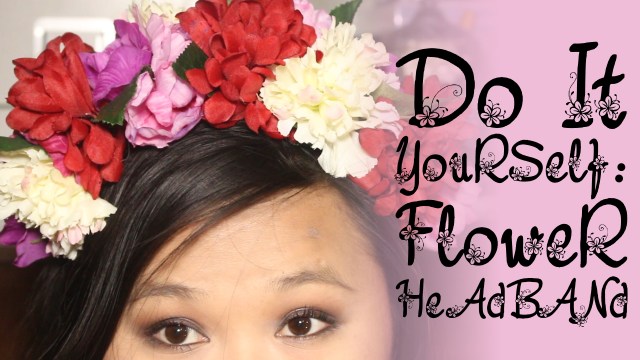
Hey Simplies I’m back with another blog post and today I will be showing you guys how to make a flower head band. It is super easy and simple to do. You can find most of the product at the Dollar Tree, so without further to do let’s get onto this DIY.
 What You Need:
- Glue gun and Glue Sticks https://goo.gl/sXUD5X
- Flowers: https://goo.gl/55KChM
- Coil Wire: https://goo.gl/DJcmP8
- Wire Cutters: https://goo.gl/xovTzm
- Ribbon: https://goo.gl/LmWXgM
Step One:
The first thing I did was pulled all the flowers and leaves from the stems. I got all my flowers from the Dollar Tree and Walmart and they were all a dollar or less.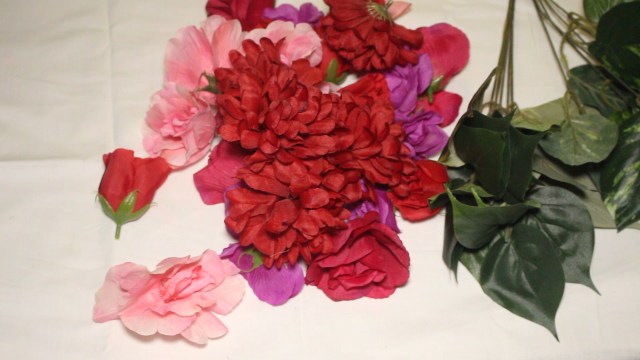
Step Two:
Next thing you need to do is take the coil wire and measure it up against your head. Once you have your measurement you are going to cut the coil wire with the wire cutter.
I got the wire cutters from the Dollar Tree and I got the coil wire from Michaels. You might find the coil wire at Joann but for sure Michaels carries them. If you do end up getting them from Michaels make sure you look up a coupon. They always have coupons. 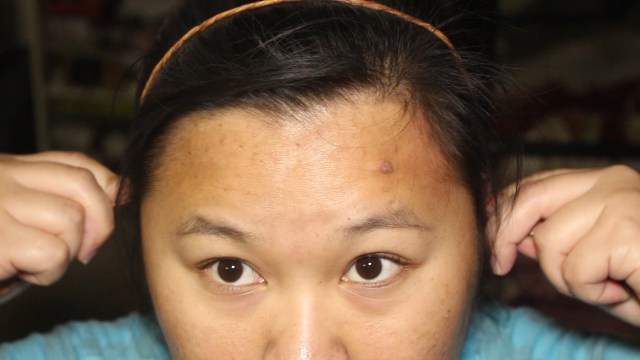
Step Three:
Cut three pieces of wire. You don’t need to cut three you can just cut one small piece and one long piece that when you fold to be the same length of the the small piece.
Step Four:
Braid the pieces of wire together. Be careful because the edges of the wires are sharp.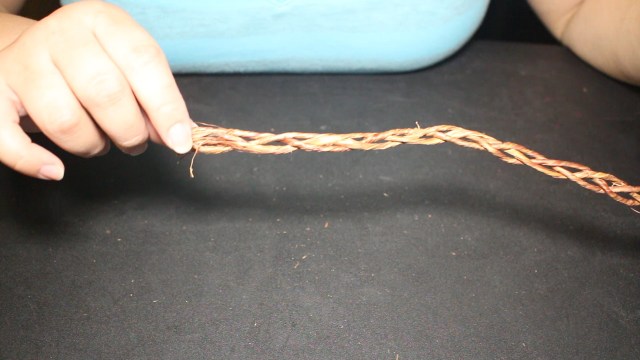
Step Five:
Glue the ribbon to the ends of the wires to cover the sharp edges.
You can find the glue guns and Glue sticks at any craft store and Walmart. I got the ribbon from the Dollar Tree.
 Step Six:
Once you have the ends cover all you need to do now is glue on the flowers. It’s easier to work with if you clip the buds of the flowers but you don’t have to. You can arrange the flowers before hand to see how you would want to arrange the flowers. I went ahead and just started gluing on the flowers as I did them. After the flowers are attached I added the leaves to add some contrast and color to the headband.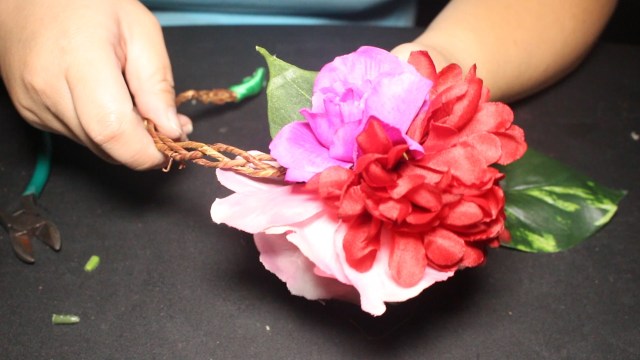
Step Seven:
This step is optional but I went ahead and glued the ribbon onto the bottom of the headband to add a layer between my hair and the coiled wire.
Step Eight:
This is also optional. You can attach a strip of ribbon to the end piece of the headband so you can tie the headband. After attaching the strips I realized you could do it at the beginning when you are wrapping the ends of the headband in step five.
And after that you will have your very own DIY flower headband. It was really easy to do and because most of the things I got were from the Dollar Tree it was really inexpensive.
 Overall I love how the headband turned out and I look forward to creating more. I think I will do a flower crown next.
Anyway I hope you guys enjoy this super easy DIY and I look forward to see what you guys make.
Until next time Stay Beautiful.
MySimpleStyles,

*Links with an (*) are affiliate links through Magiclink. I make a small commission if you purchase through these links*
Watch The DIY Tutorial Video

Oh mai, i just love how this turned out and such easy to follow directions as well, definitely going to start making my own flower crowns.
LikeLiked by 1 person
Thank you. I can’t wait to see yours when you make it 🙂
LikeLiked by 1 person