Hey Simplies,
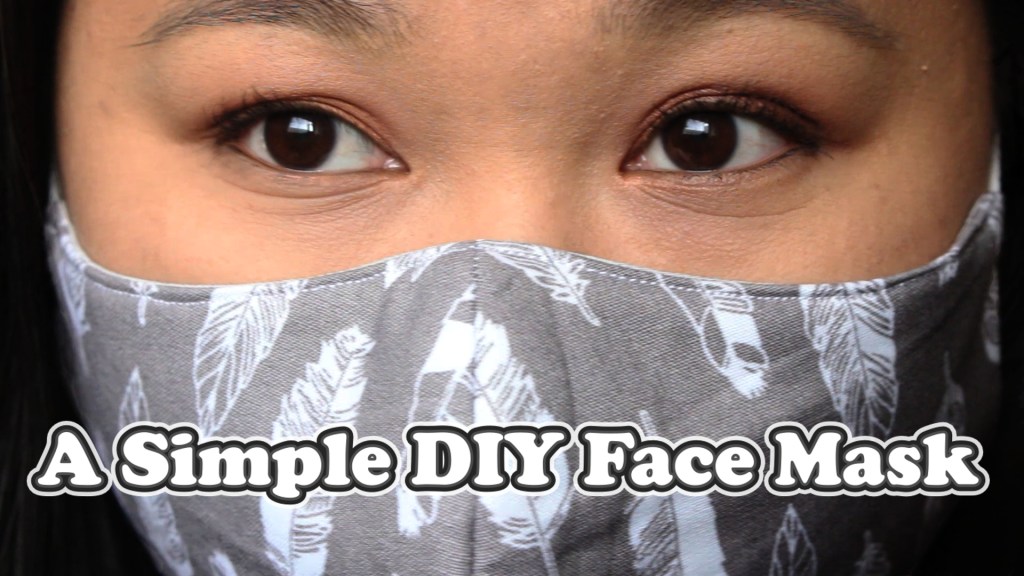
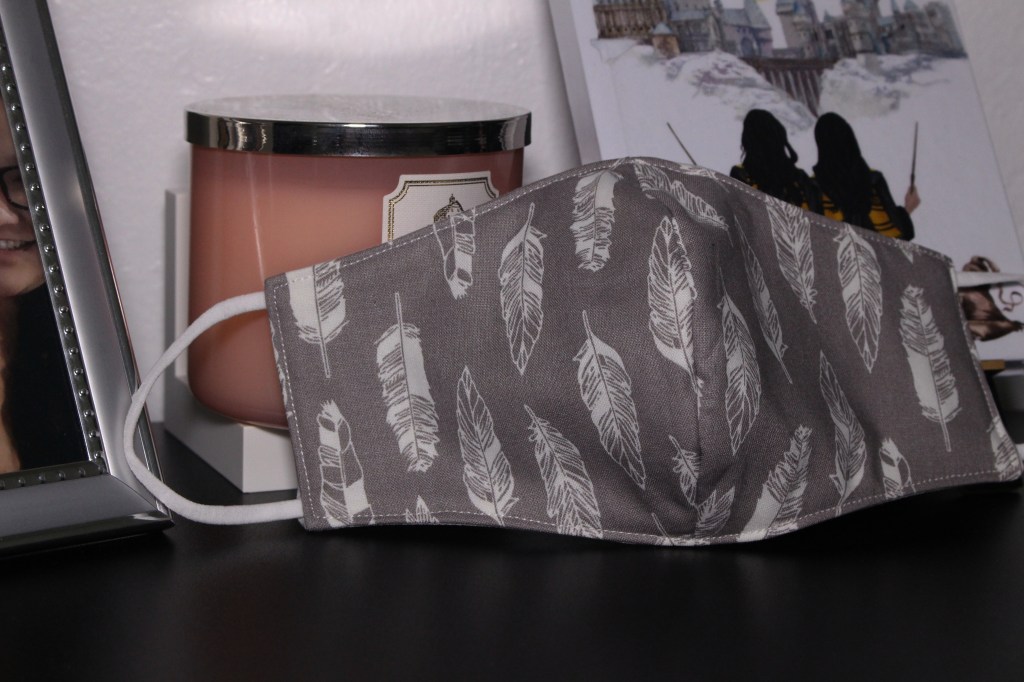
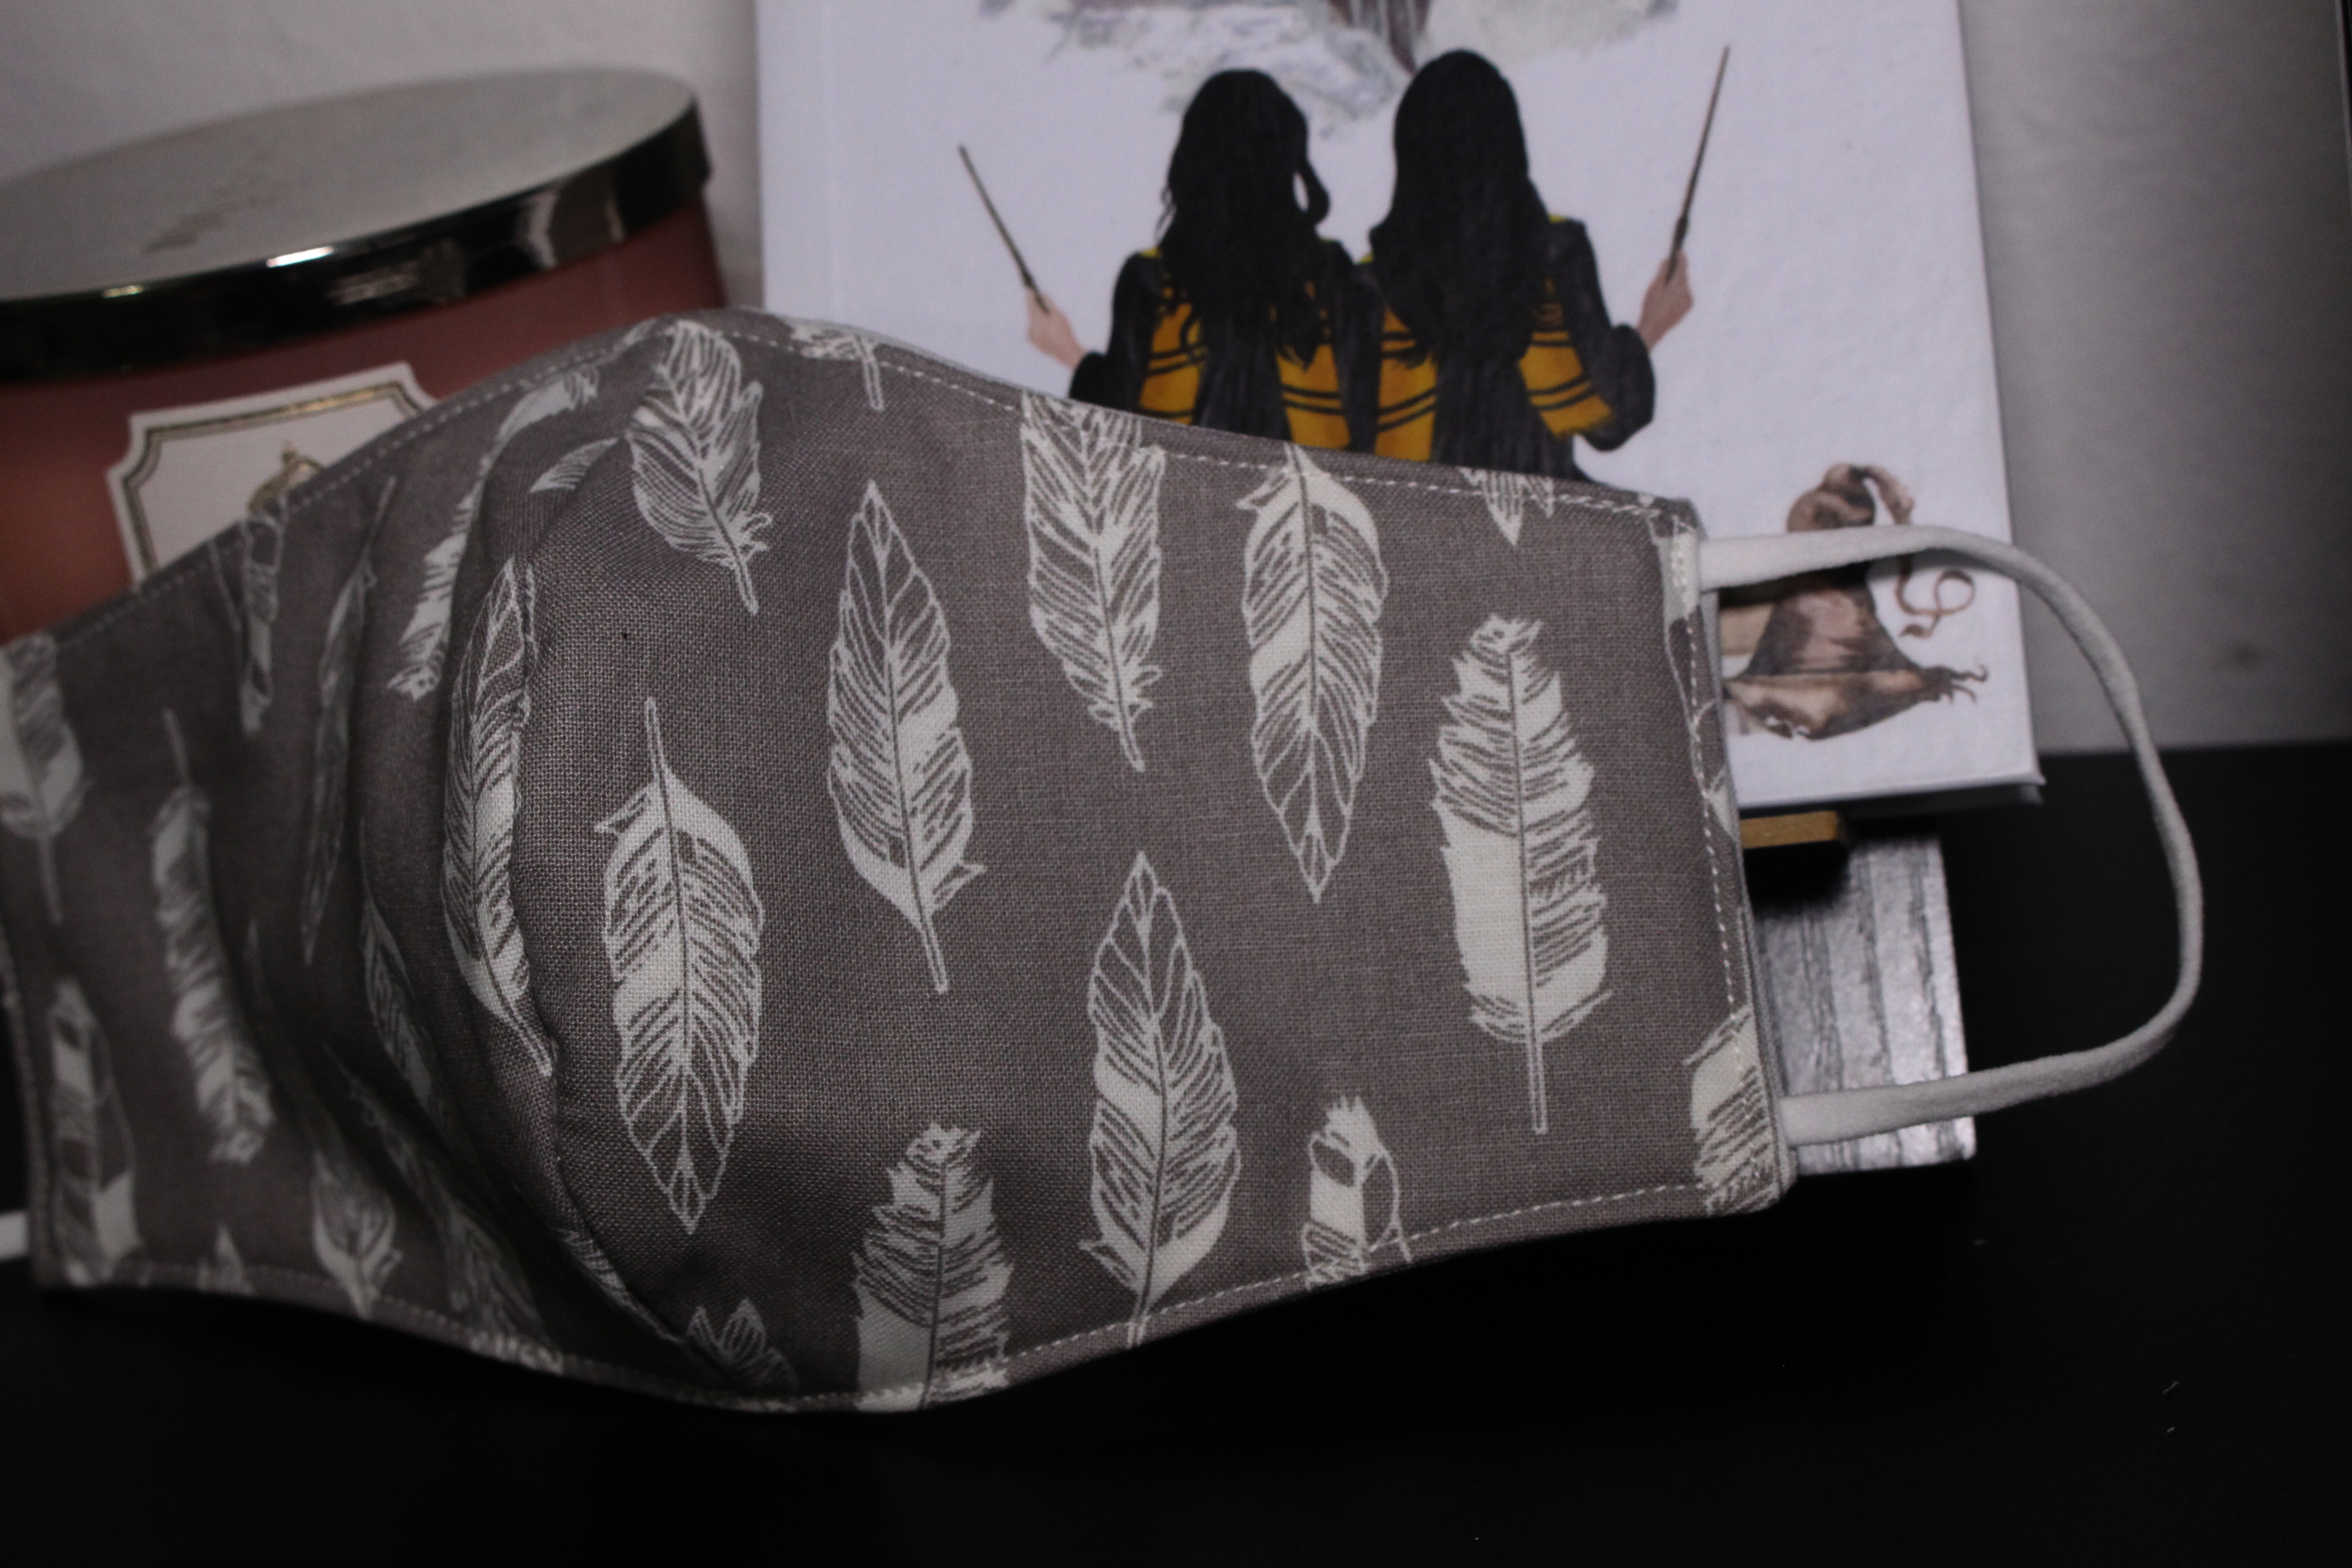
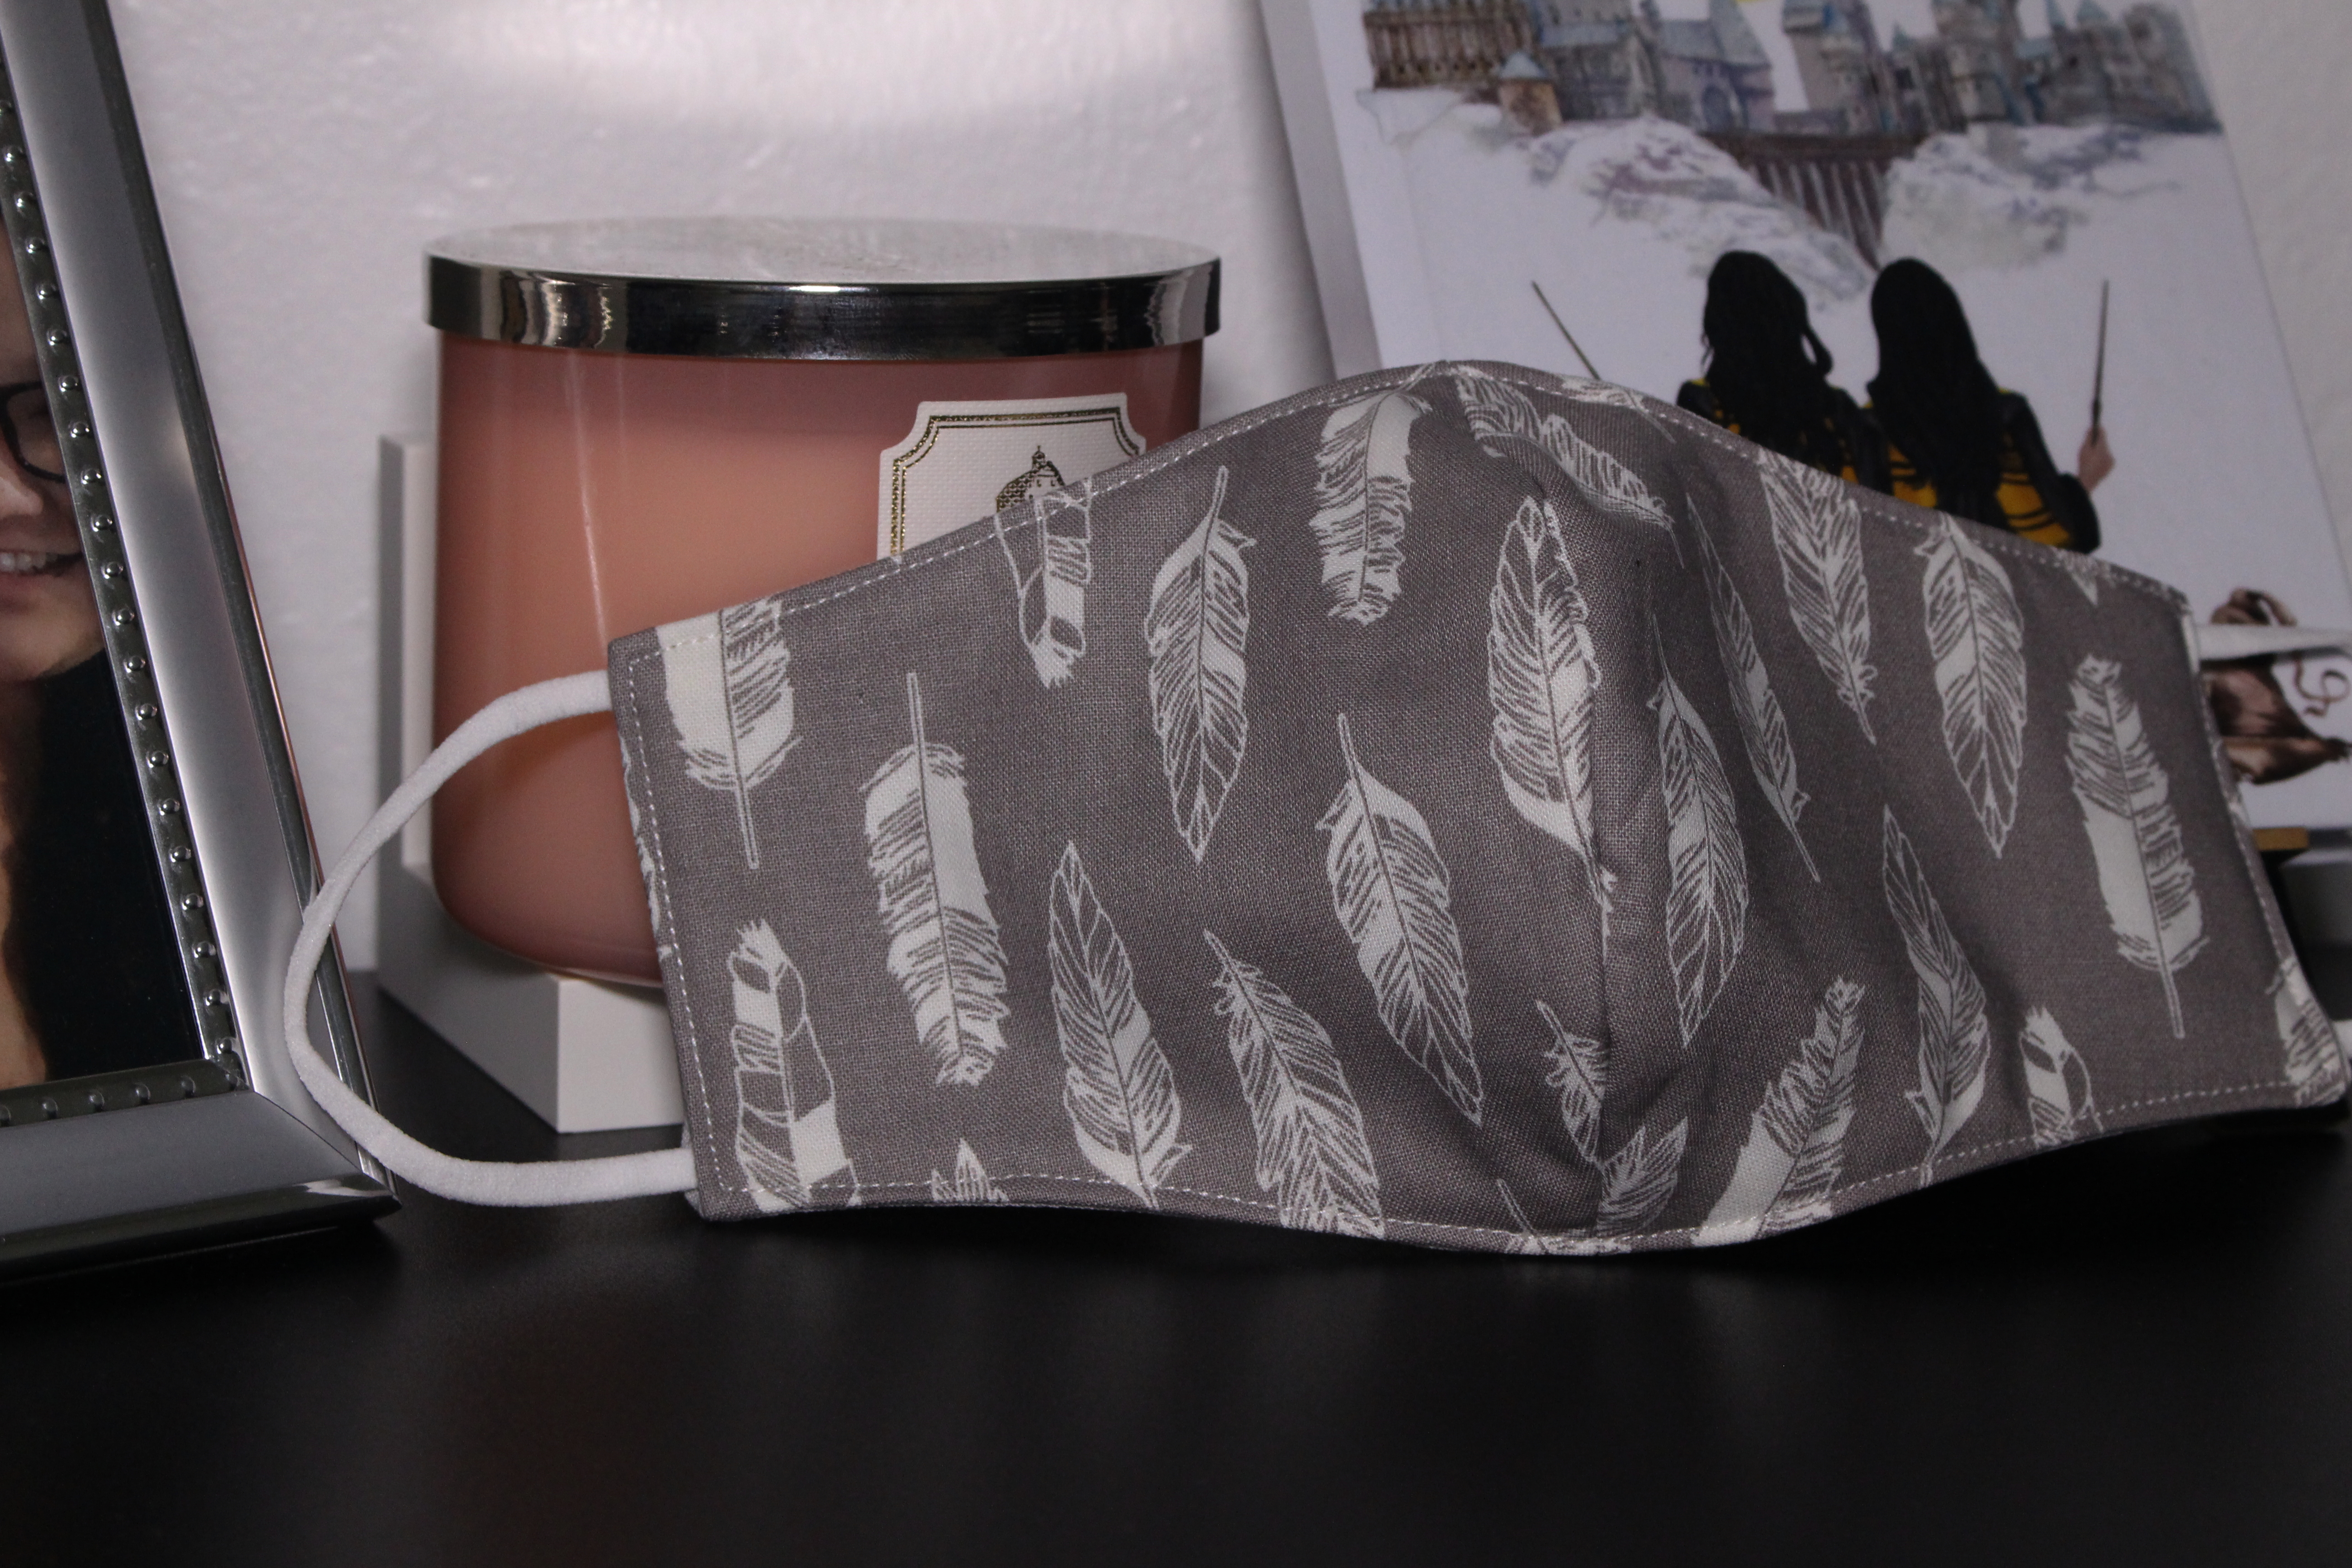
Welcome back. So today I will be showing you how to make a simple face mask. This face mask is really simple to make. Unfortunately it does not have a filter slot or a nose wire because I have not been able to figure out how to add those to my liking. The mask does have three layers which will make it a little thicker. The mask is made out of two types of fabric: 100% cotton and flannel.
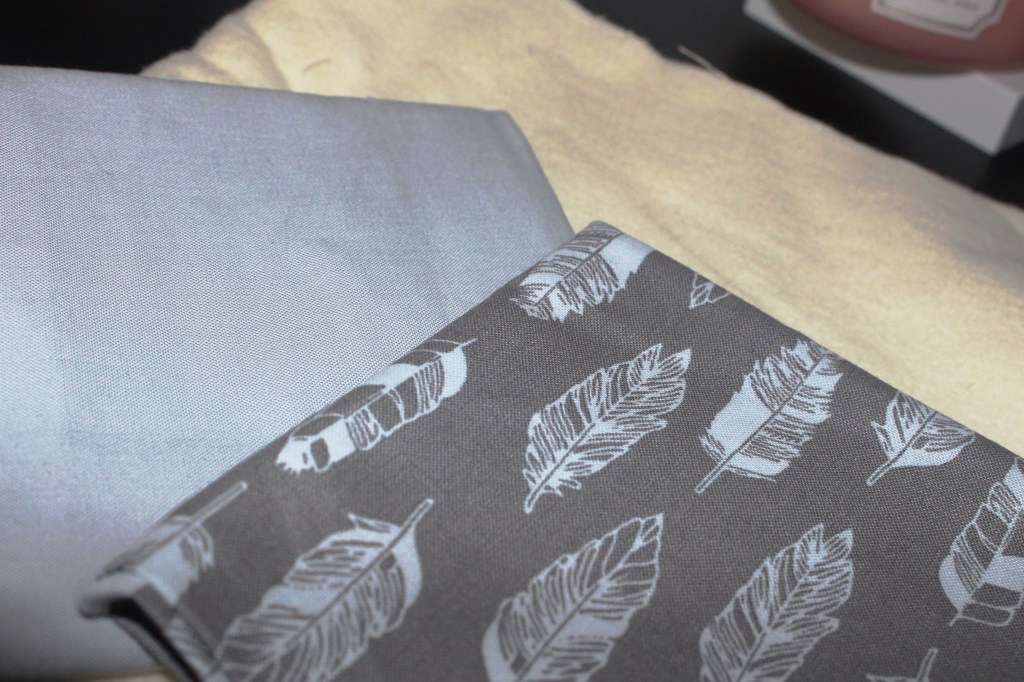
The front and back of the mask are 100% cotton and inside the mask is where the flannel piece will be. I will be making this mask out of three fabrics. One has a pattern, the second is a solid color and the last is a flannel fabric. *Note: You do not need to get two different types of the 100% cotton fabric. You can use the same cotton fabric for the front and back of the mask. I got two different fabrics just because I wanted to have a pattern side and a plain solid side. You can also have two different pattern fabrics because the mask can be reversible.
I bought my fabrics from Walmart. The two cotton fabrics I got were the fat quarter samples that were already pre-cut and I was able to just pick out from the shelfs. They were also pretty affordable. The pattern fabric was less than $1.50 and the solid fabric was under $1.00. The only thing I needed to have cut for me was the flannel fabric. Unfortunately I was not able to find some that were already pre-cut. You do not need alot for the flannel fabric. ½ a yard is more than enough if you are only making a few masks.
I will have a link for you guys to download the mask pattern I use. If the pattern is too big or too small you can simply modify it by adding or taking half an inch off the pattern. *Note: I show you this in the video.
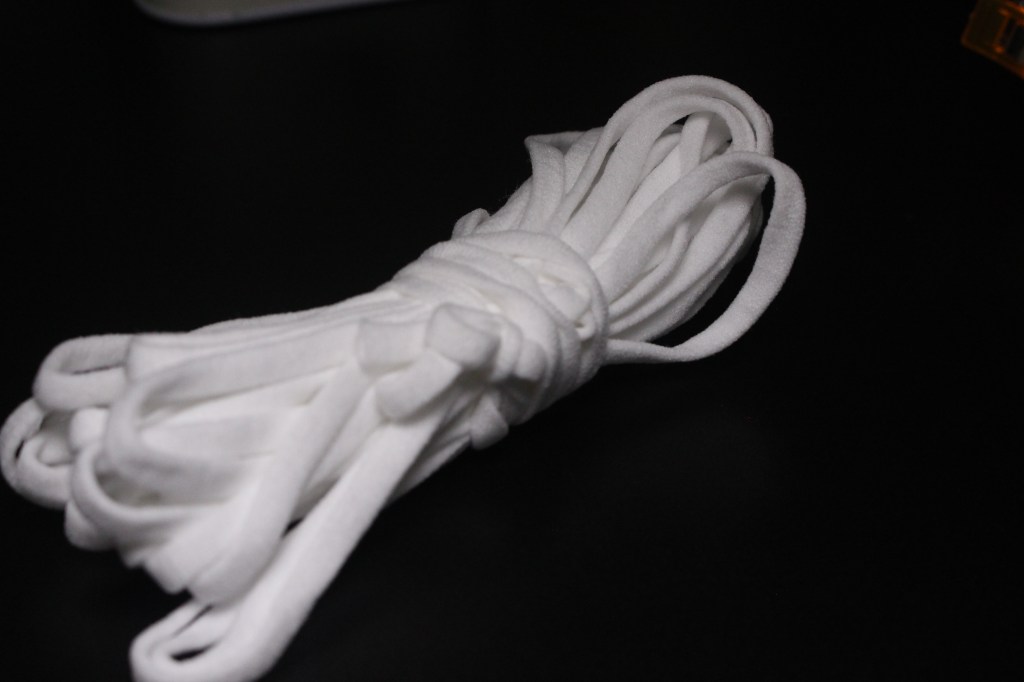
The last thing you guys will need for this mask will be elastic. You can use regular ¼ elastic that you find at any craft stores. I bought the elastic I will be using on amazon. I like the one from amazon because I think it feels better on the skin. It has more of a cloth like feel and has a little bit more stretch to it compared to regular elastic. You don’t have to get the one I got, just use what is available to you
Materials:
100% Cotton Fabric
Flannel Fabric
2 6” Elastic
Mask Pattern: https://drive.google.com/file/d/1nBKzl4cT_tSk5diltk-h9lugRrLQdweS/view?usp=sharing
What I Used:
Elastic (Amazon): https://cutt.ly/6hO6kkI
Elastic (Walmart): https://cutt.ly/JhPqkE1
Gray Fabric: https://cutt.ly/EhO6EWB
Feather Fabric: https://cutt.ly/bhO6TZq
Flannel Fabric: https://cutt.ly/FhO6U9X
Let’s Make A Mask.
First thing first. If you think you need a bigger mask make sure you watch the video where I show you how to easily make the mask bigger.
- Once you have your mask pattern you will use it to trace the pattern onto the fabrics.
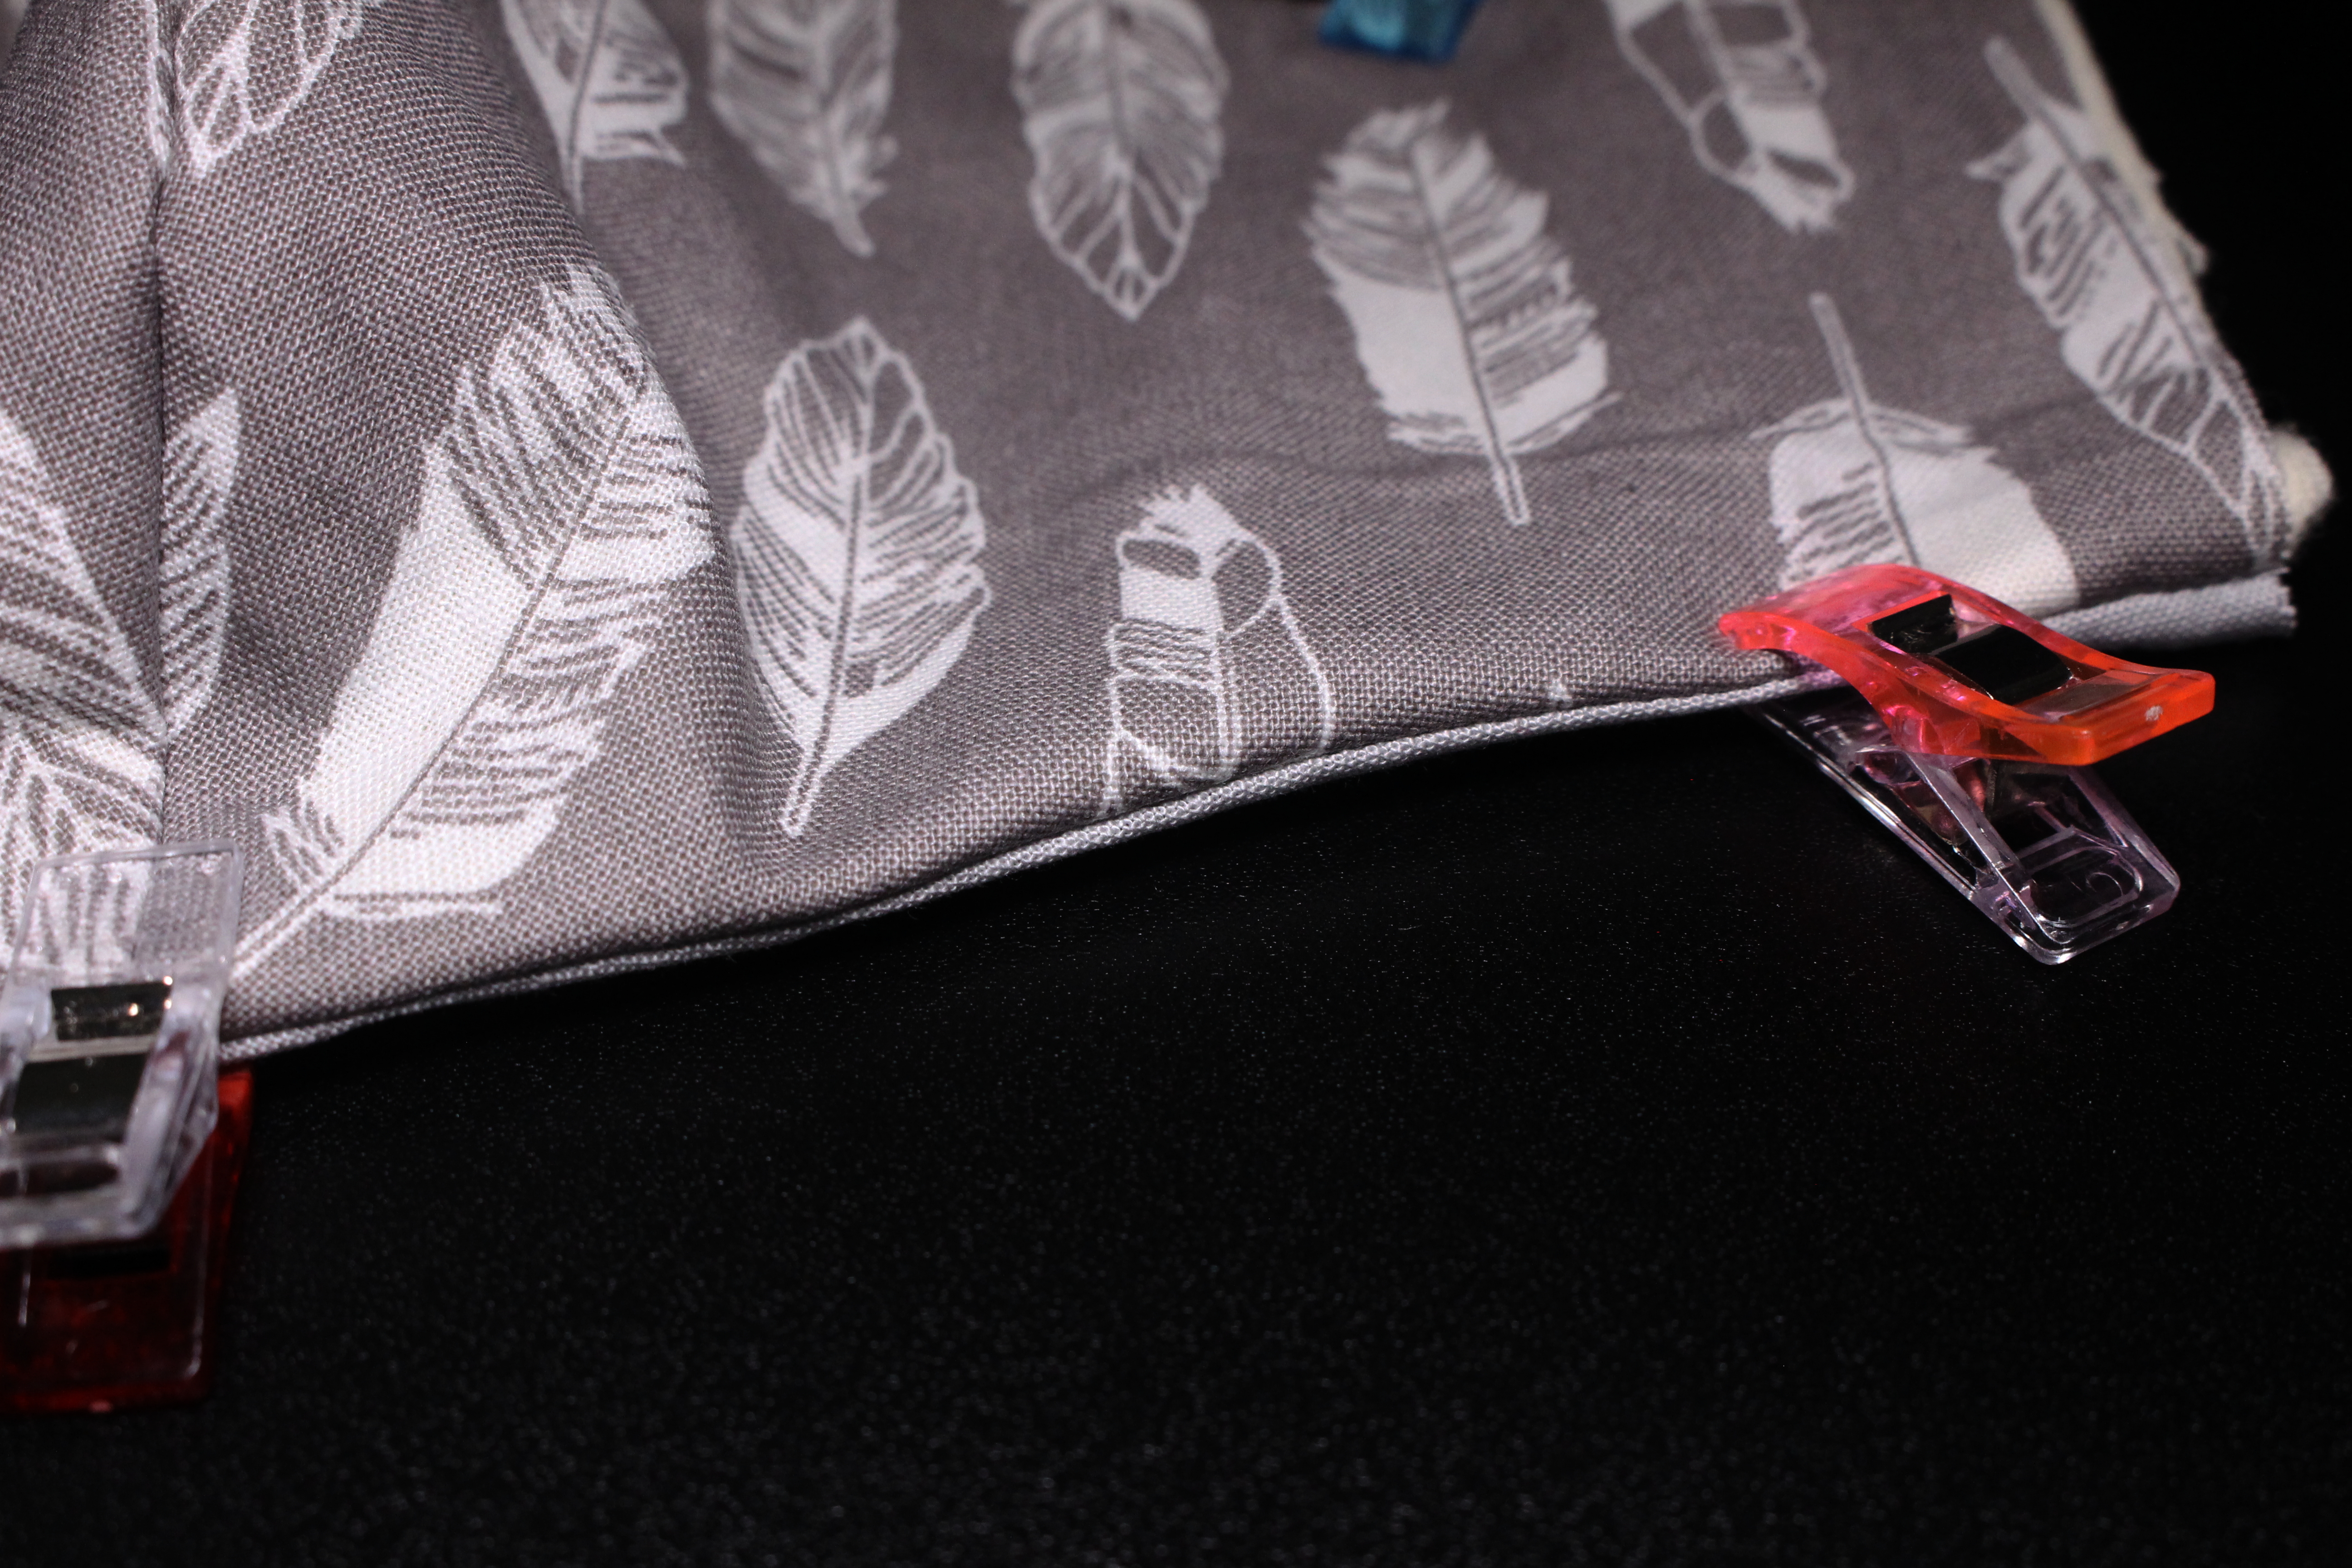
*Note: This is a tricky part if you are using a fabric with a pattern. You have to make sure that you cut the pattern in the correct order or else it will not come out the way you want it to. Because the mask has a top and button side you want to make sure that once the pieces are cut they mirror each other. I’ll have some pictures to explain it as best as I can because I’m bit sure if it’ll make sense.
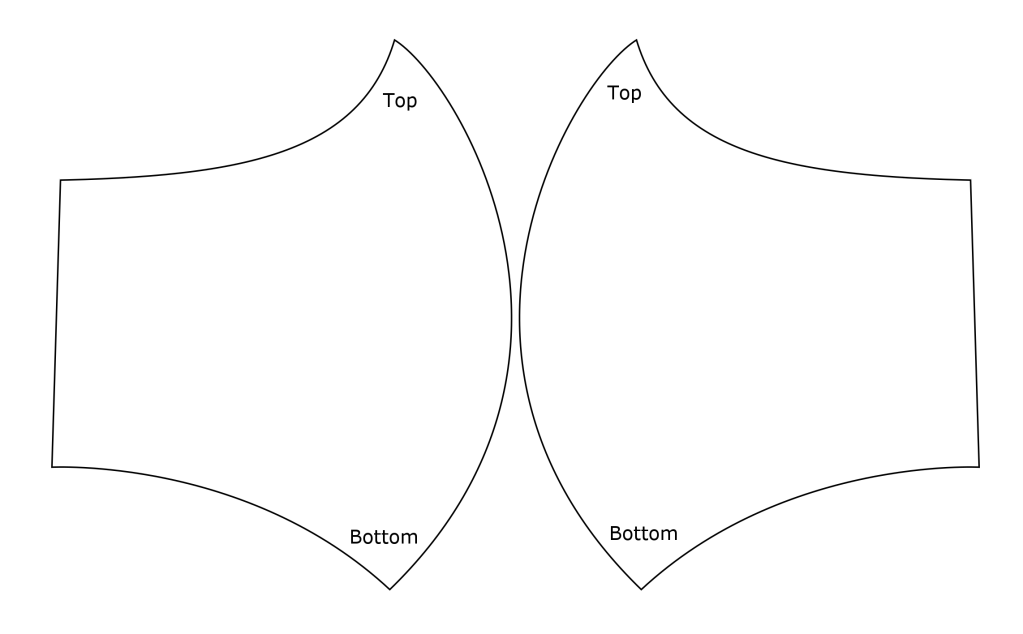
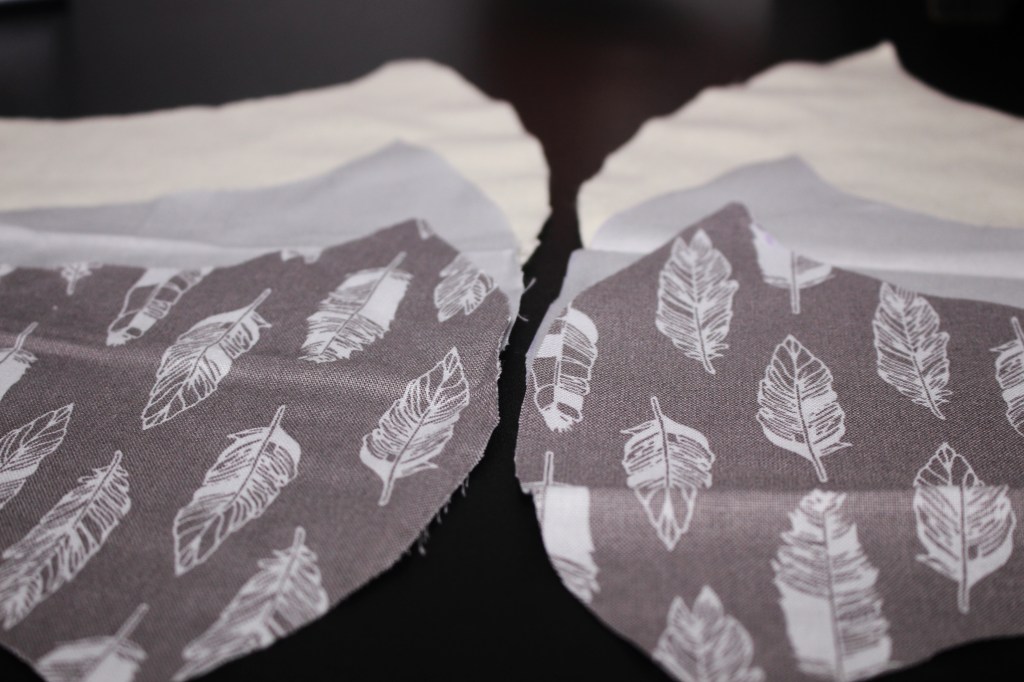
- Once you have the fabric cut you should have six pieces total. 2 patterned, 2 solid and 2 flannel.
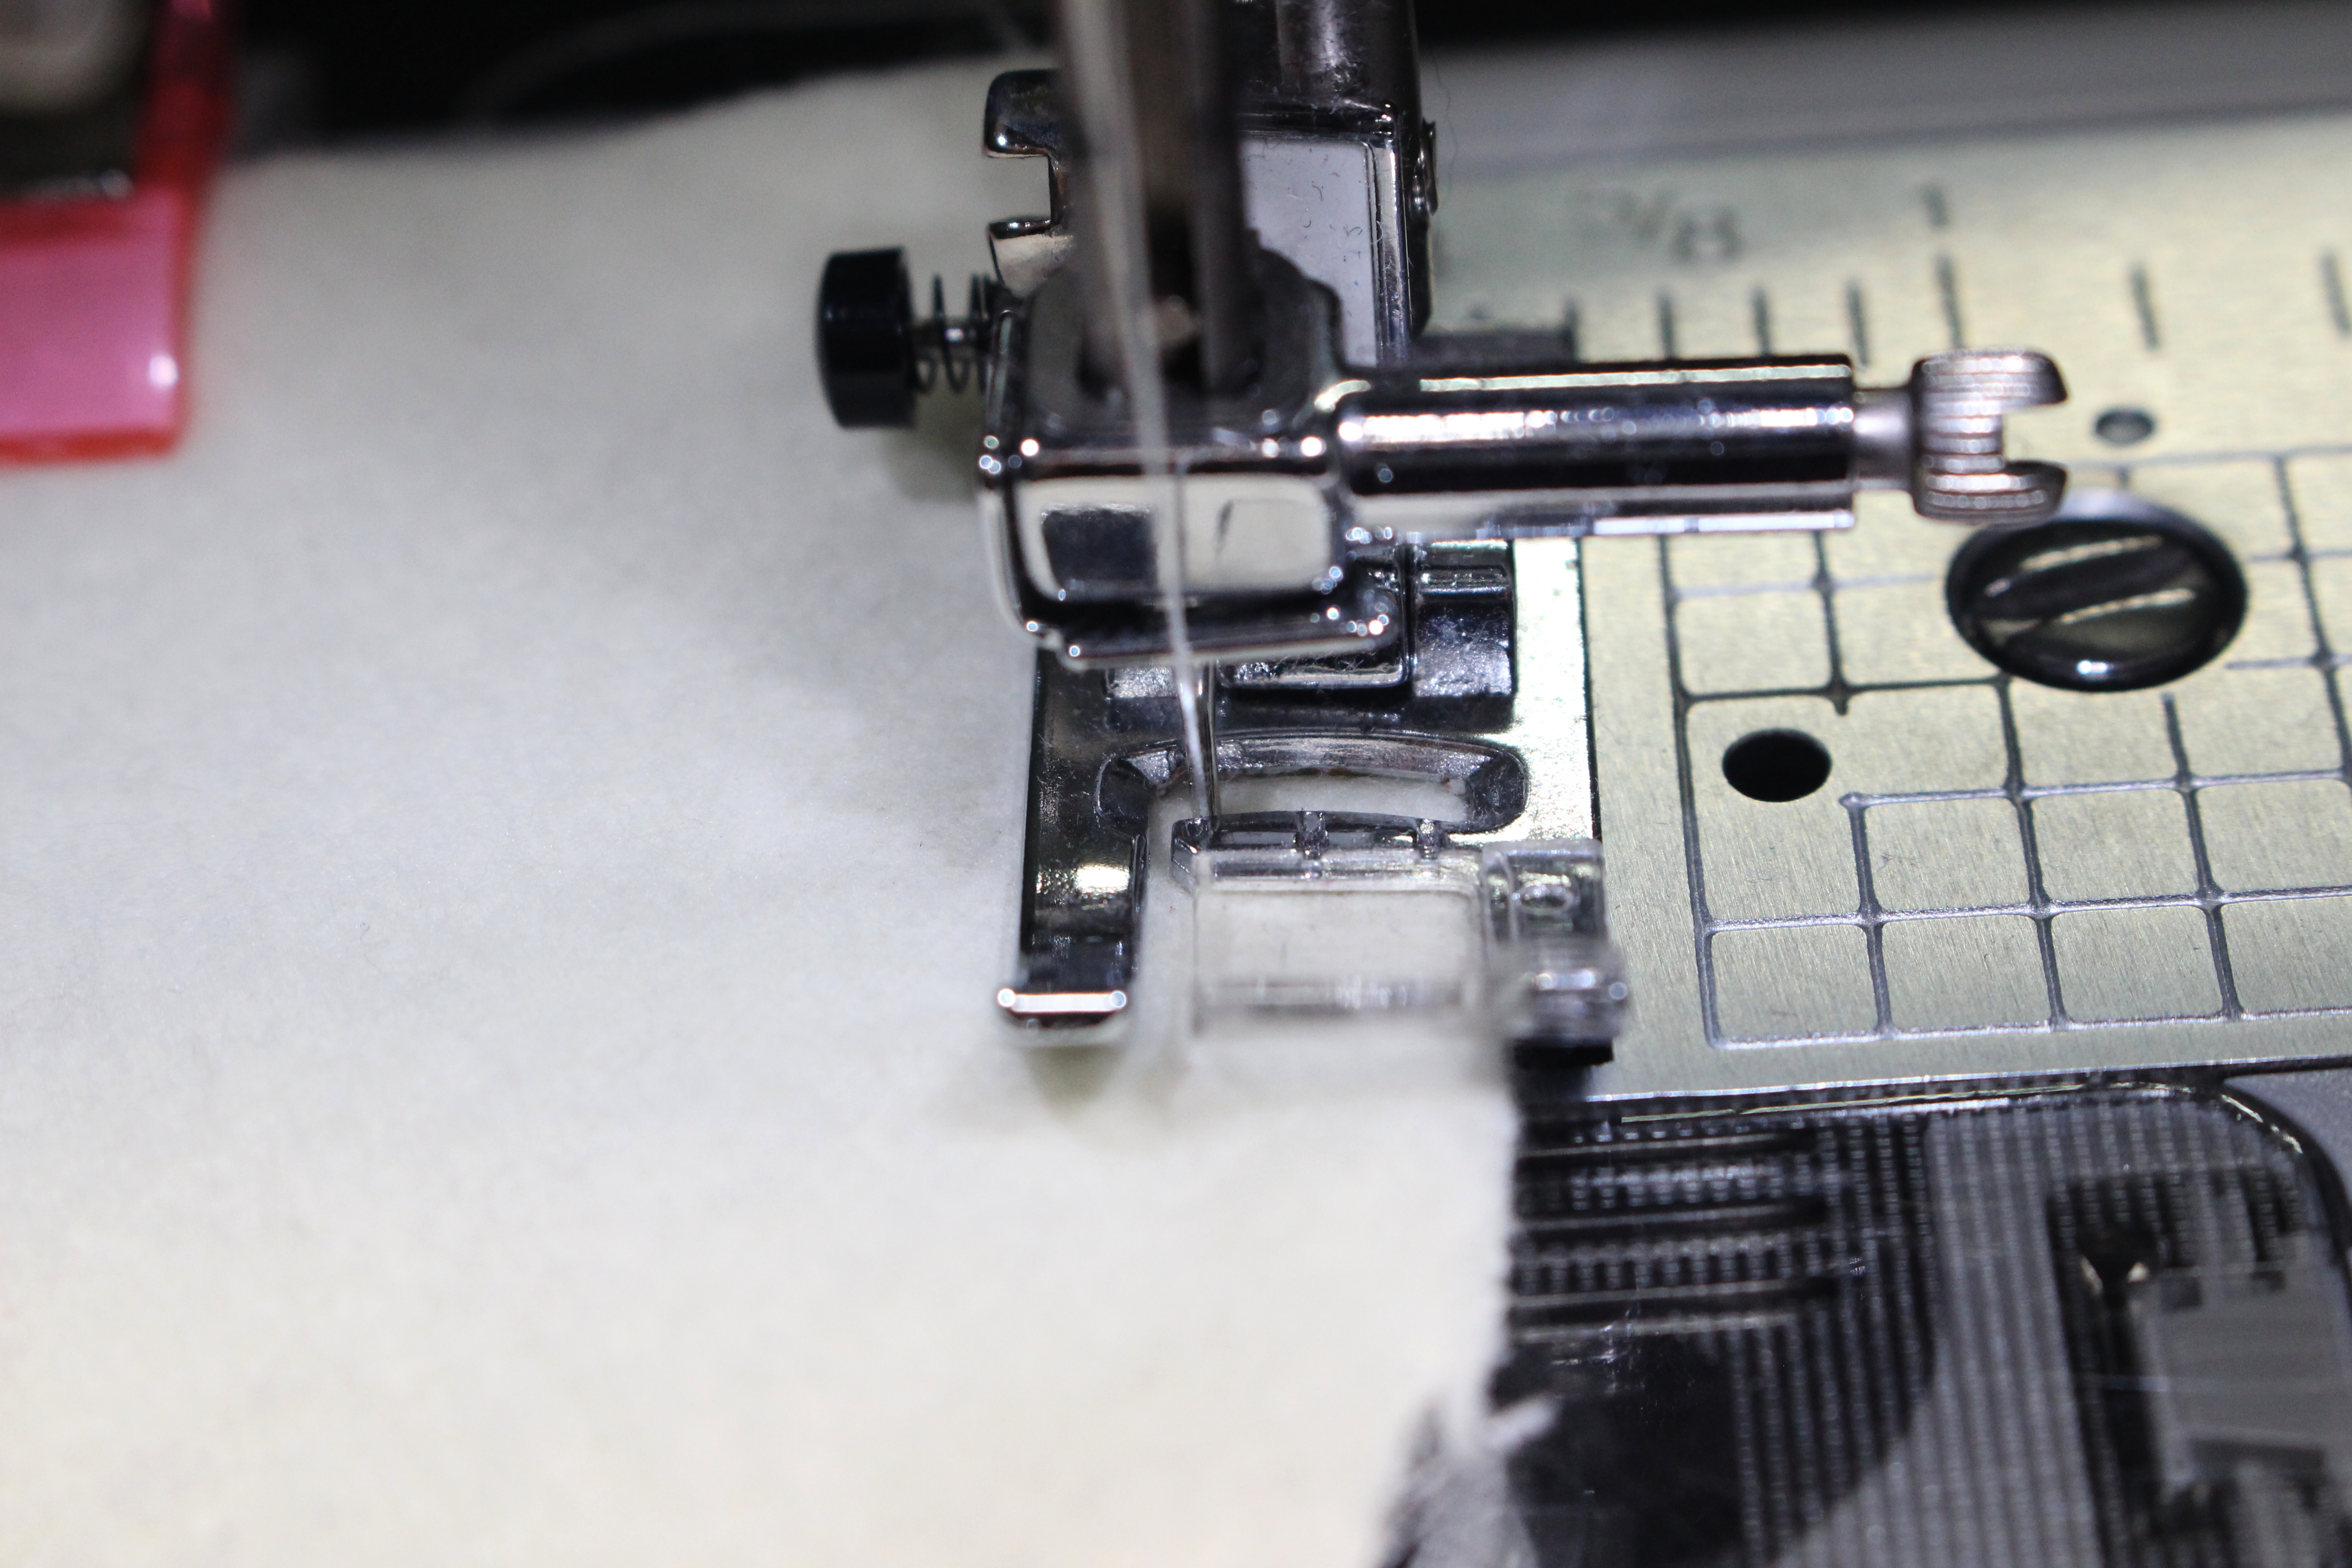
- Next we’re going to stitch the flannel pieces and pattern pieces together. Keep the solid pieces separate. First, Lay down a flannel piece then put one of the pattern pieces on top. The wrong side of the pattern piece against the flannel and the right side (pattern side) facing up.
*Note: Make sure you are matching the top side of the mask to the top and the bottom side of the mask to the bottom. - Once you are done you will top stitch the rounded side of the mask, about ½ inch. Do the same thing for the solid pieces.
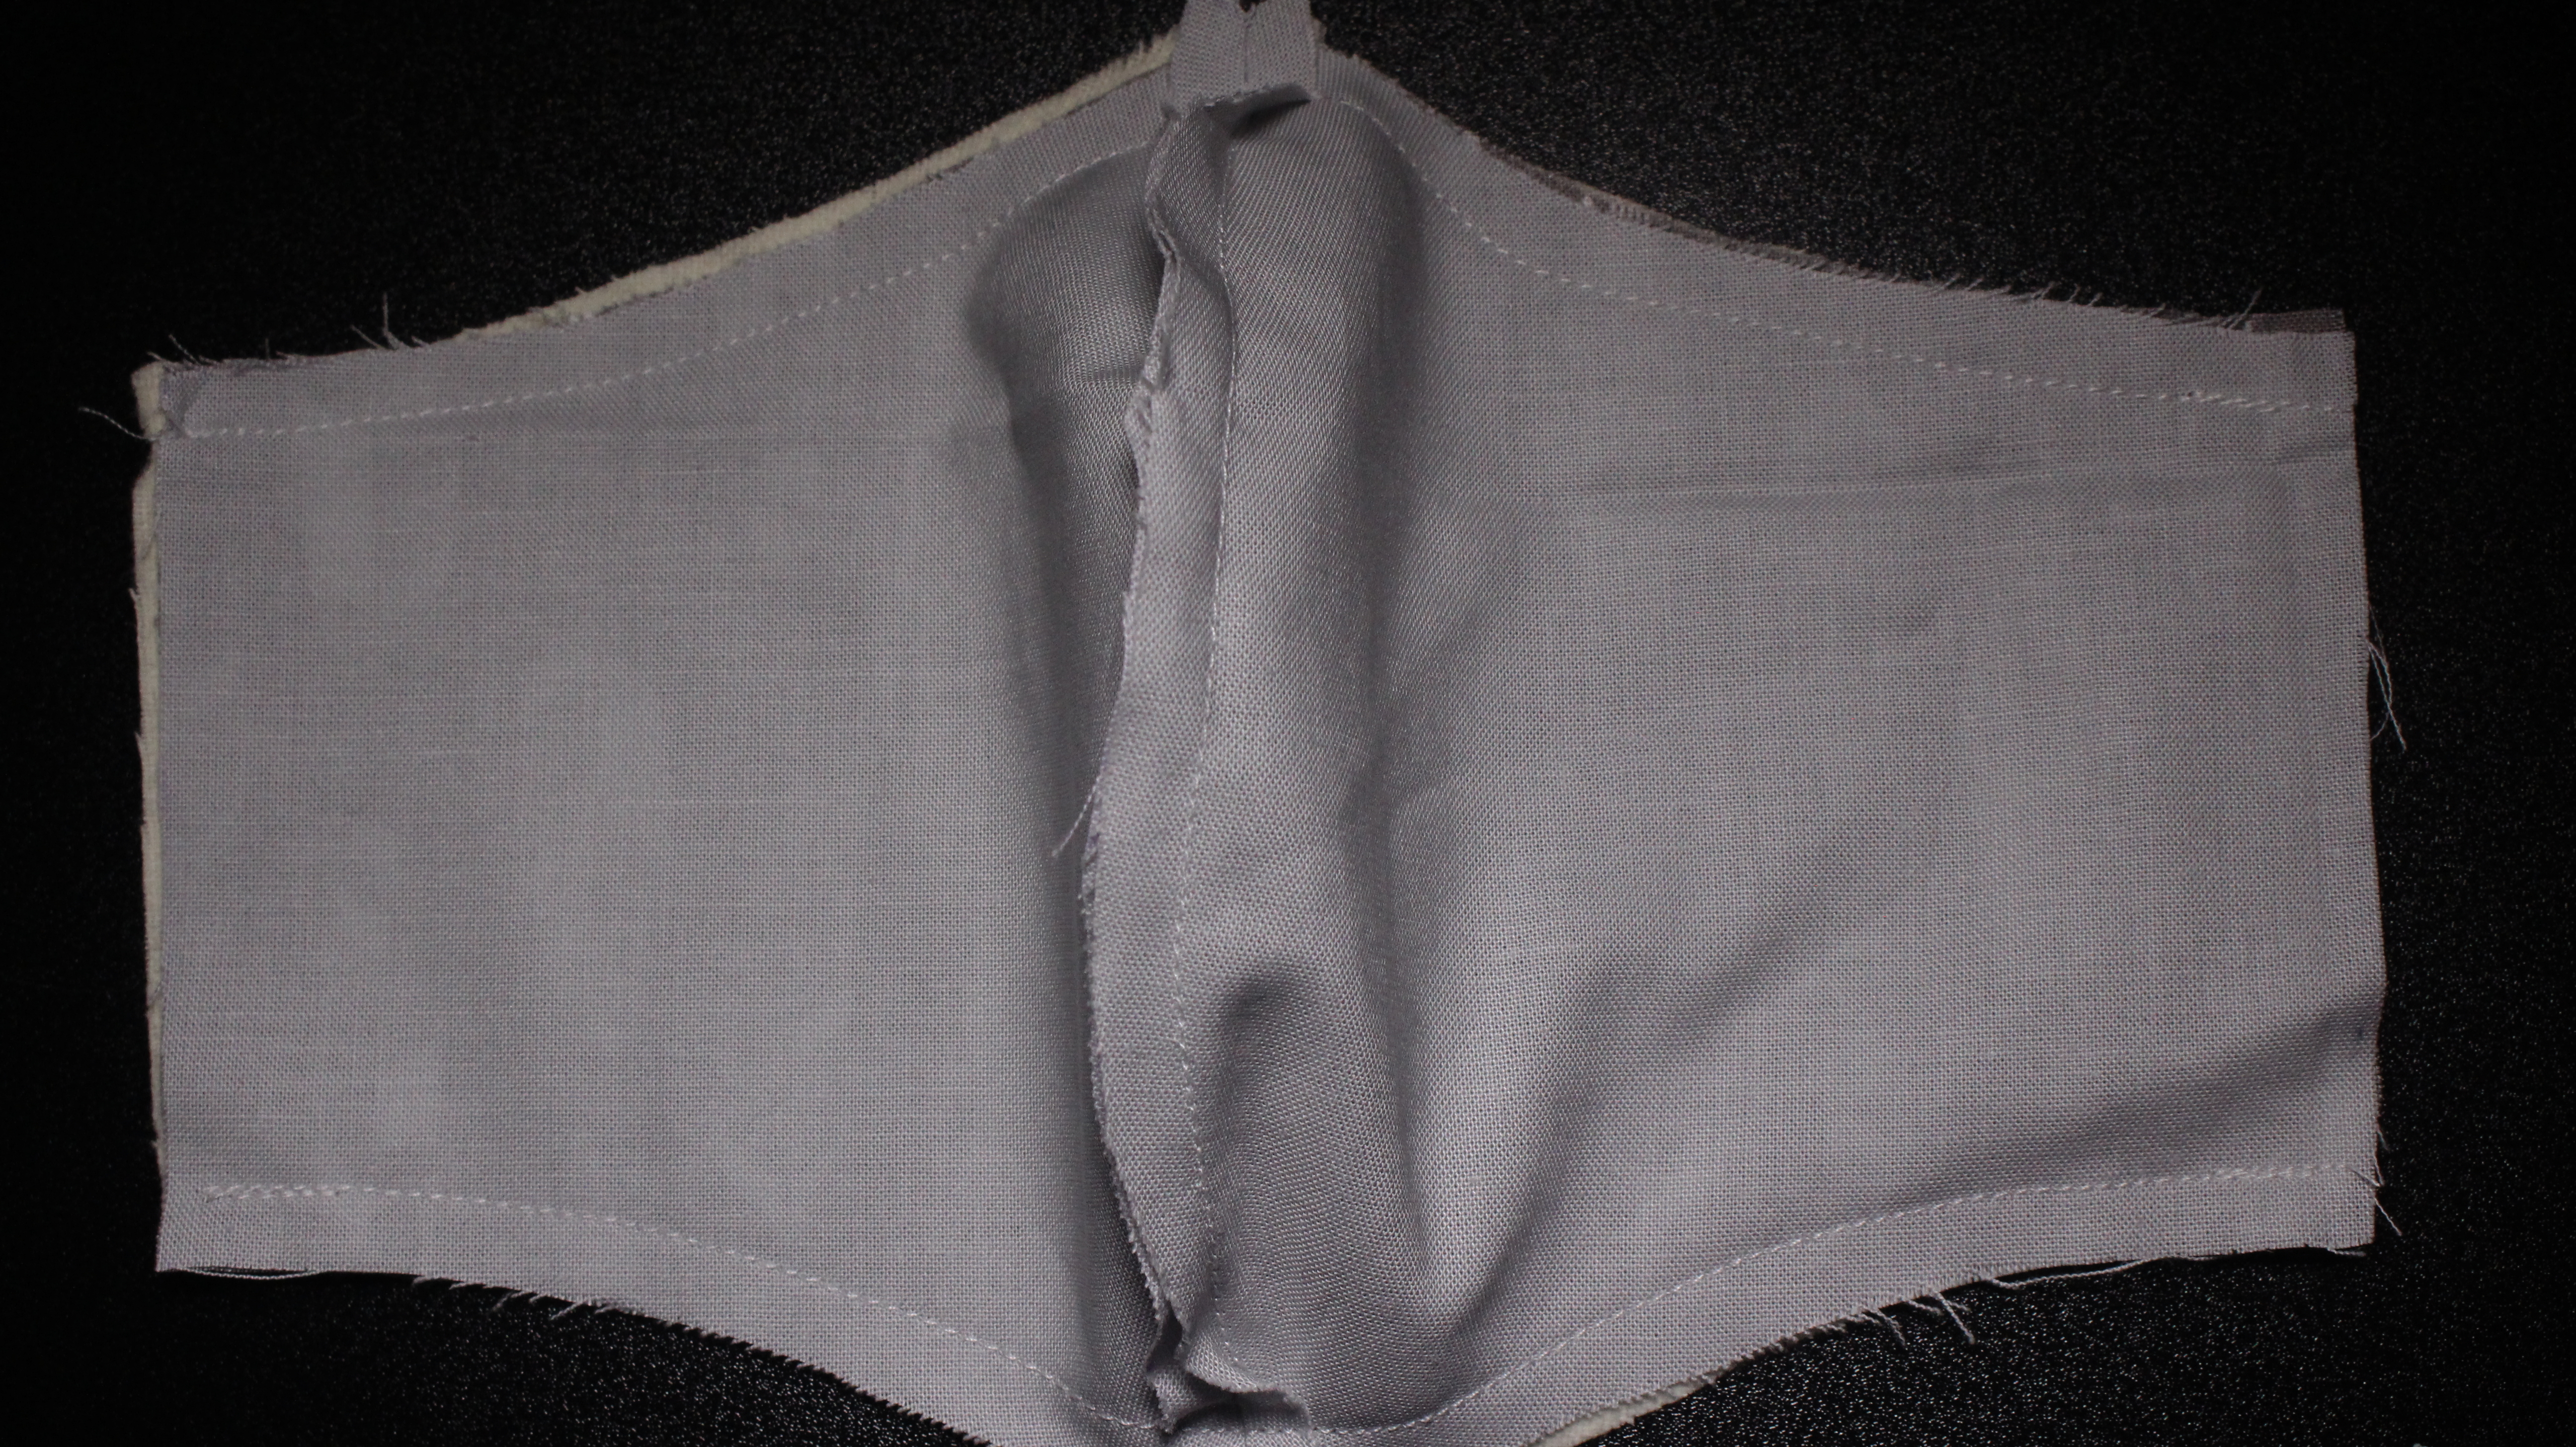
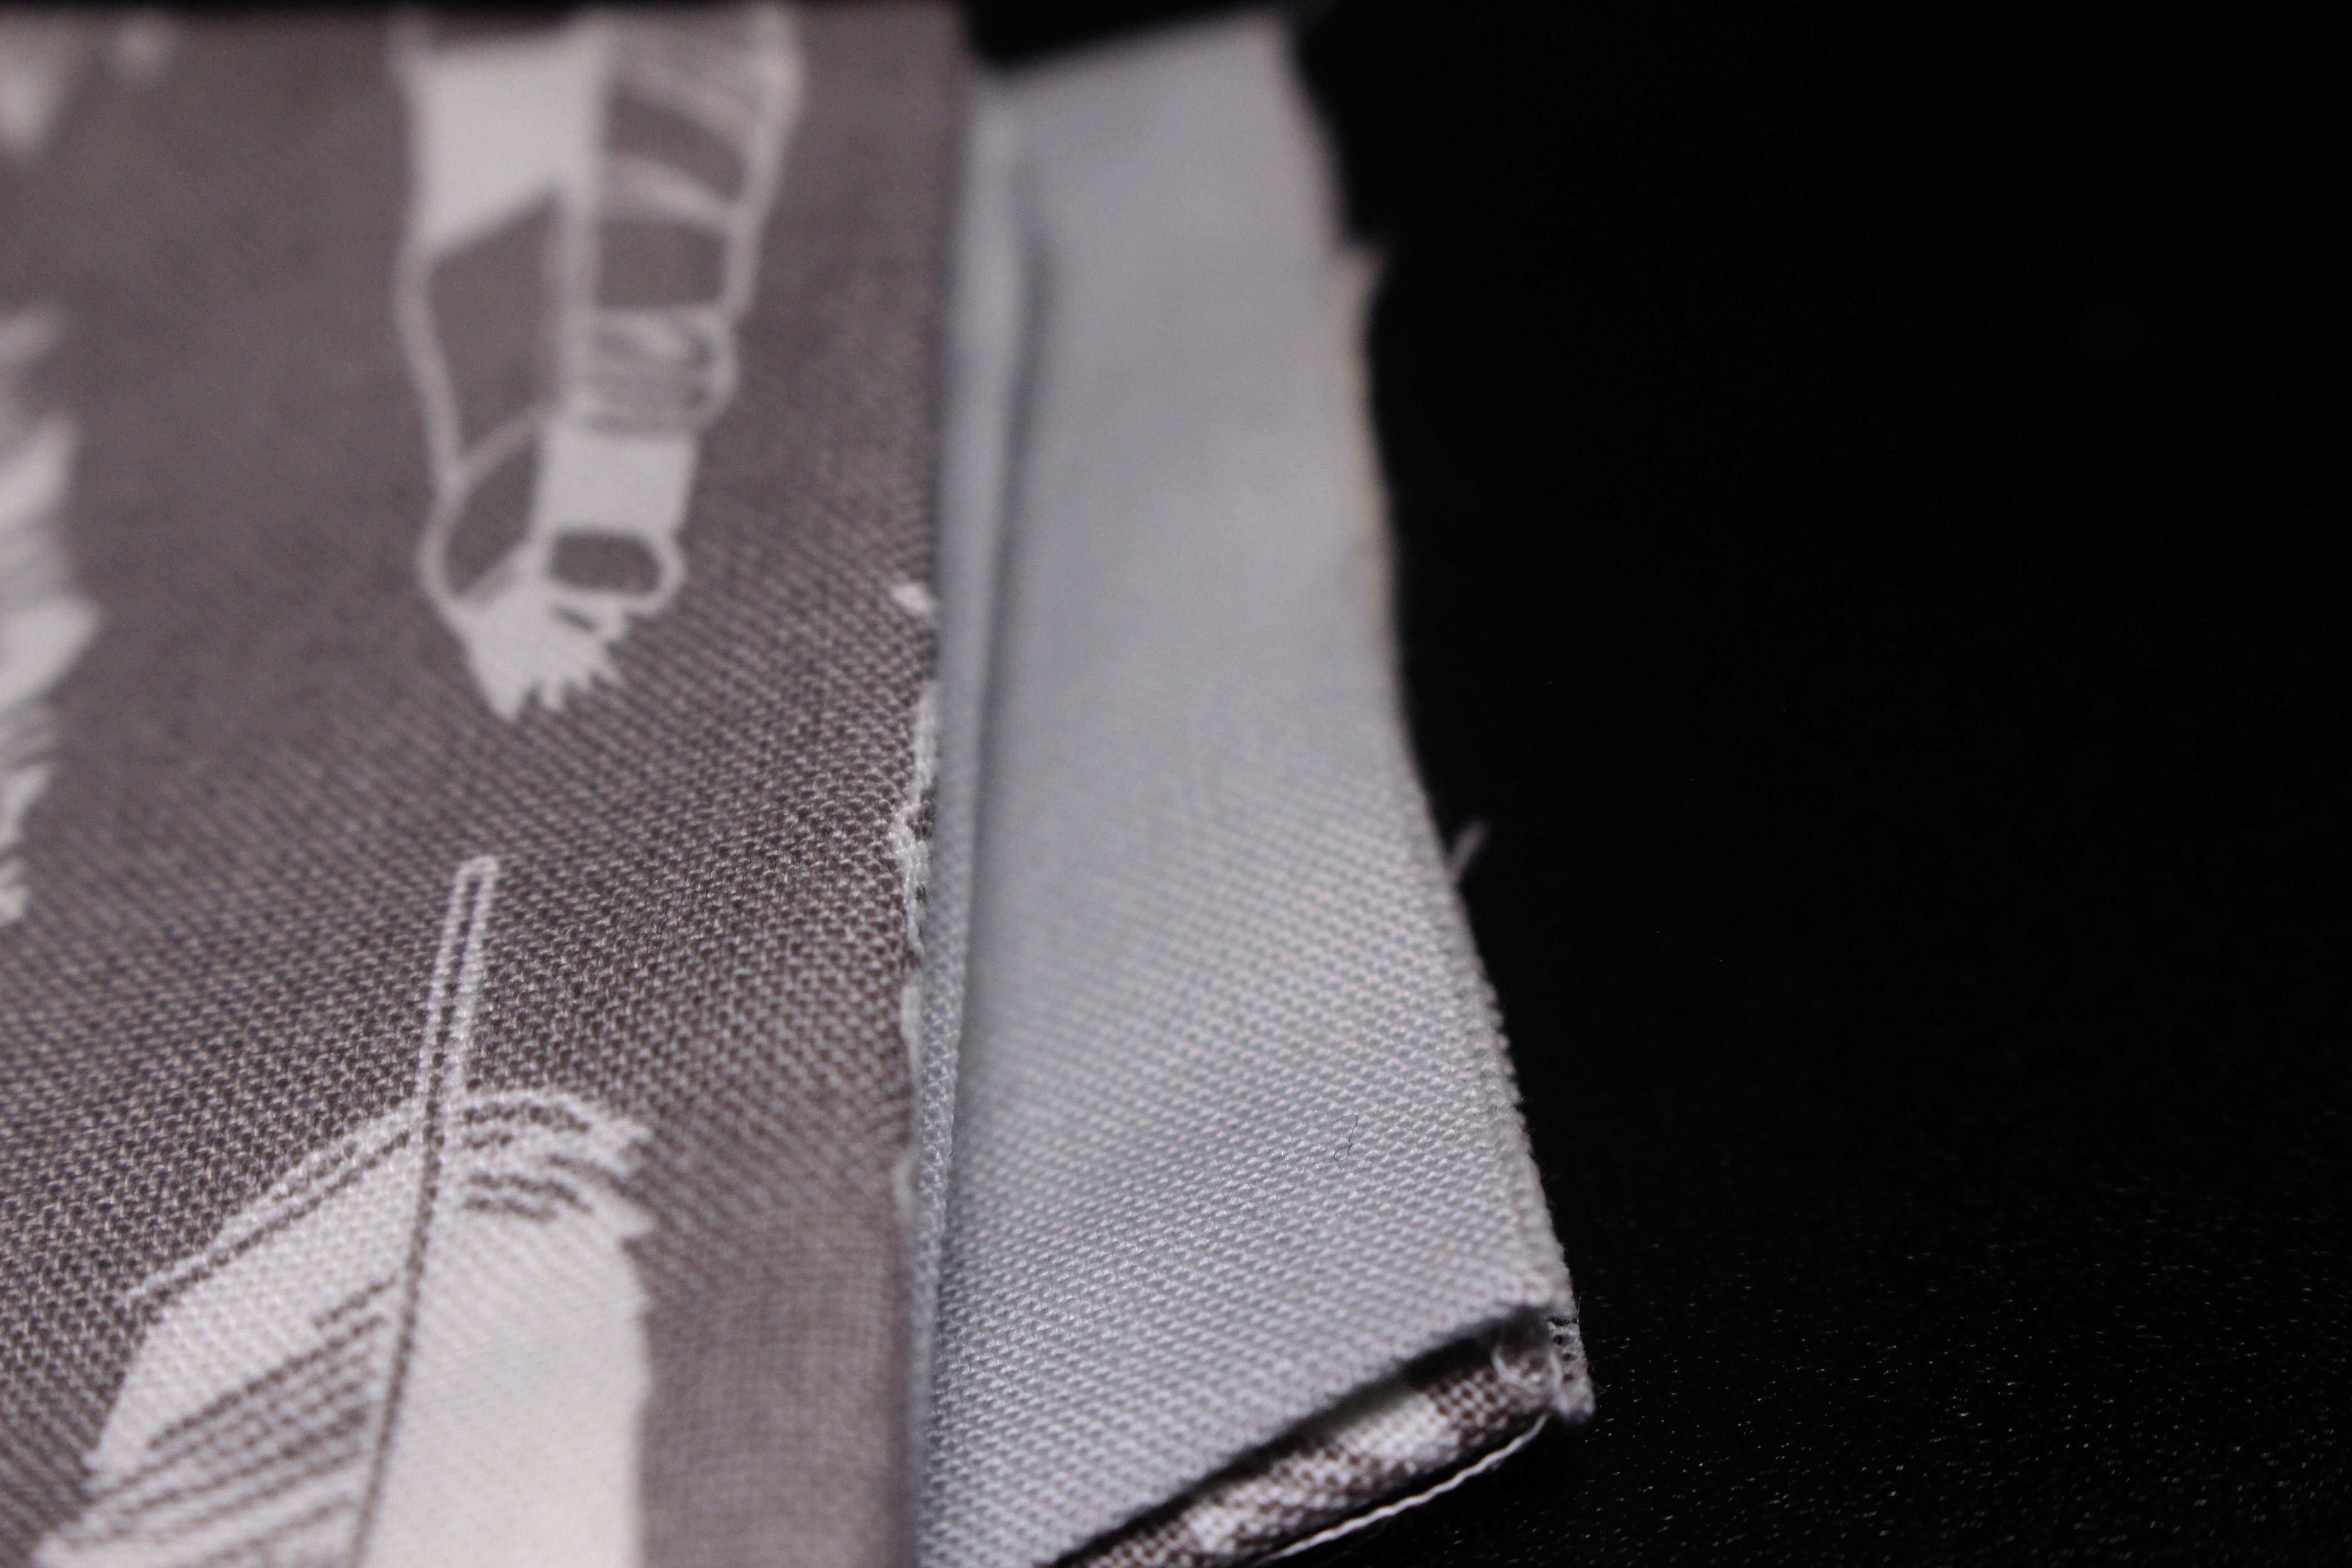
- After you are done stitching we will now put the pieces together. Making sure the right side of the pattern piece and the right side of the solid piece are facing each other we are going to align the ends of the mask. Once you have the ends align we are going to stitch the top and bottom of the mask leaving the sides not stitched. Again stitch about ½ inch.
- Next turn the mask inside out and make sure the seams are at the edge because we will be pressing the seams.
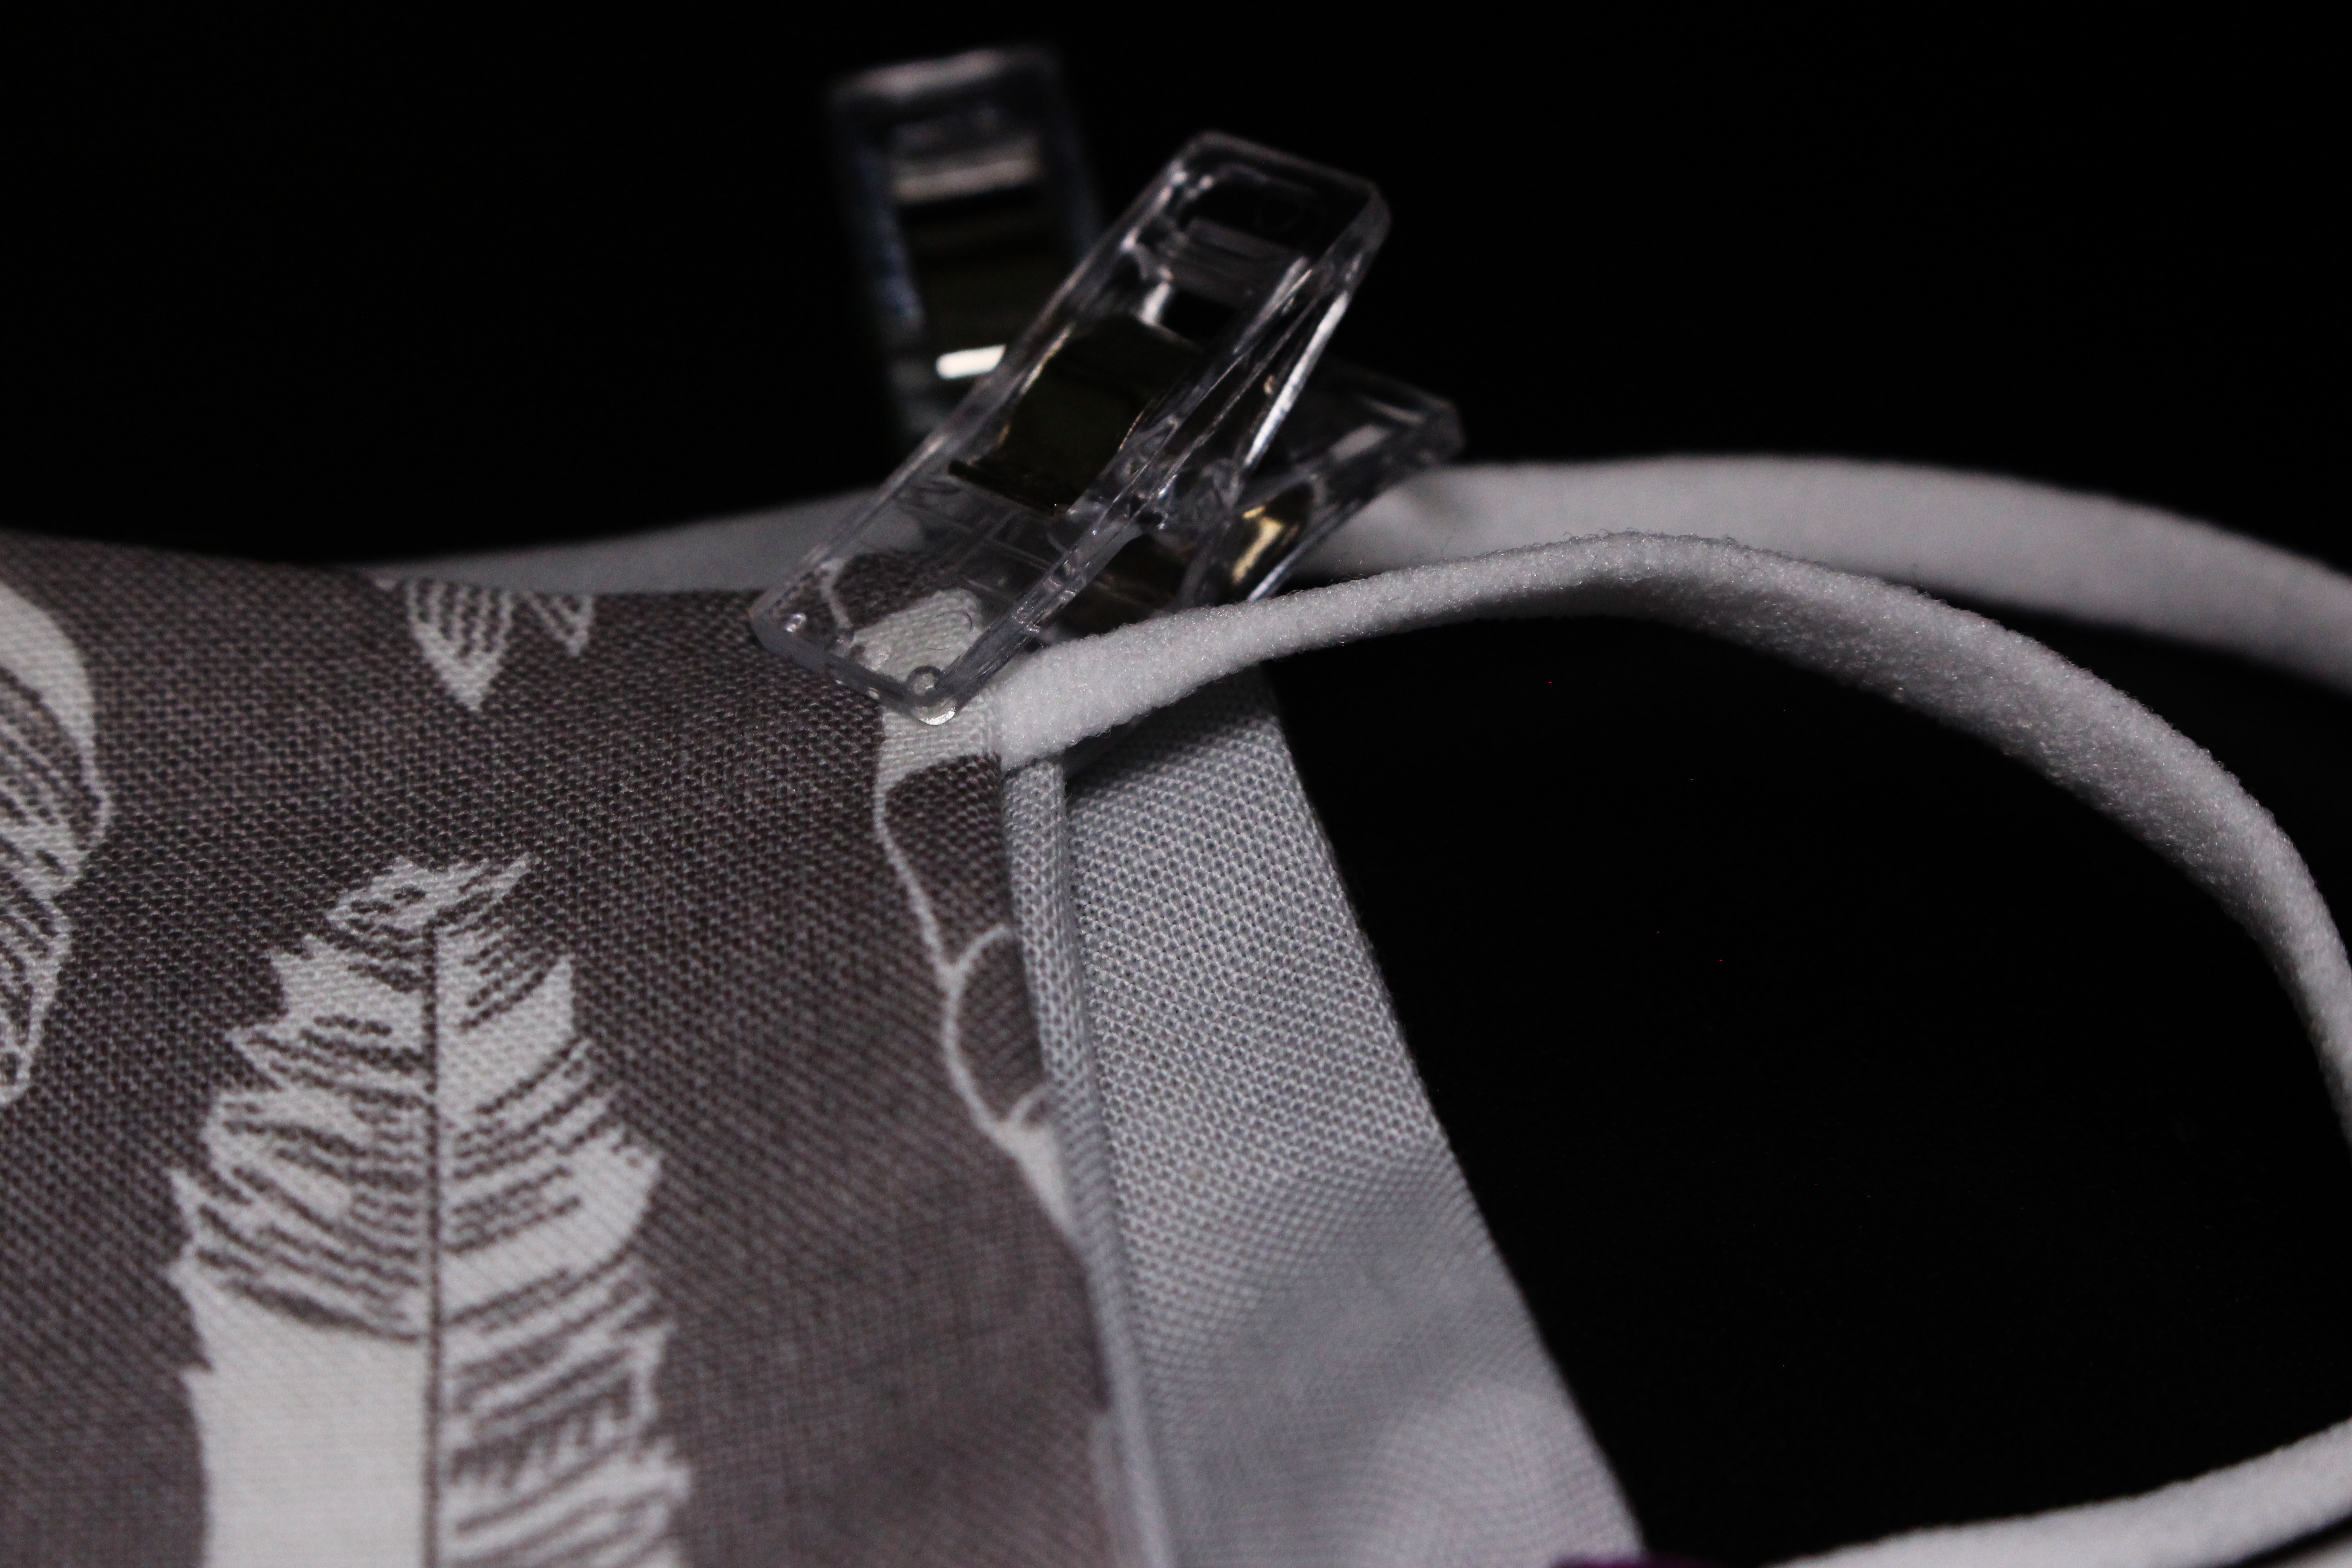
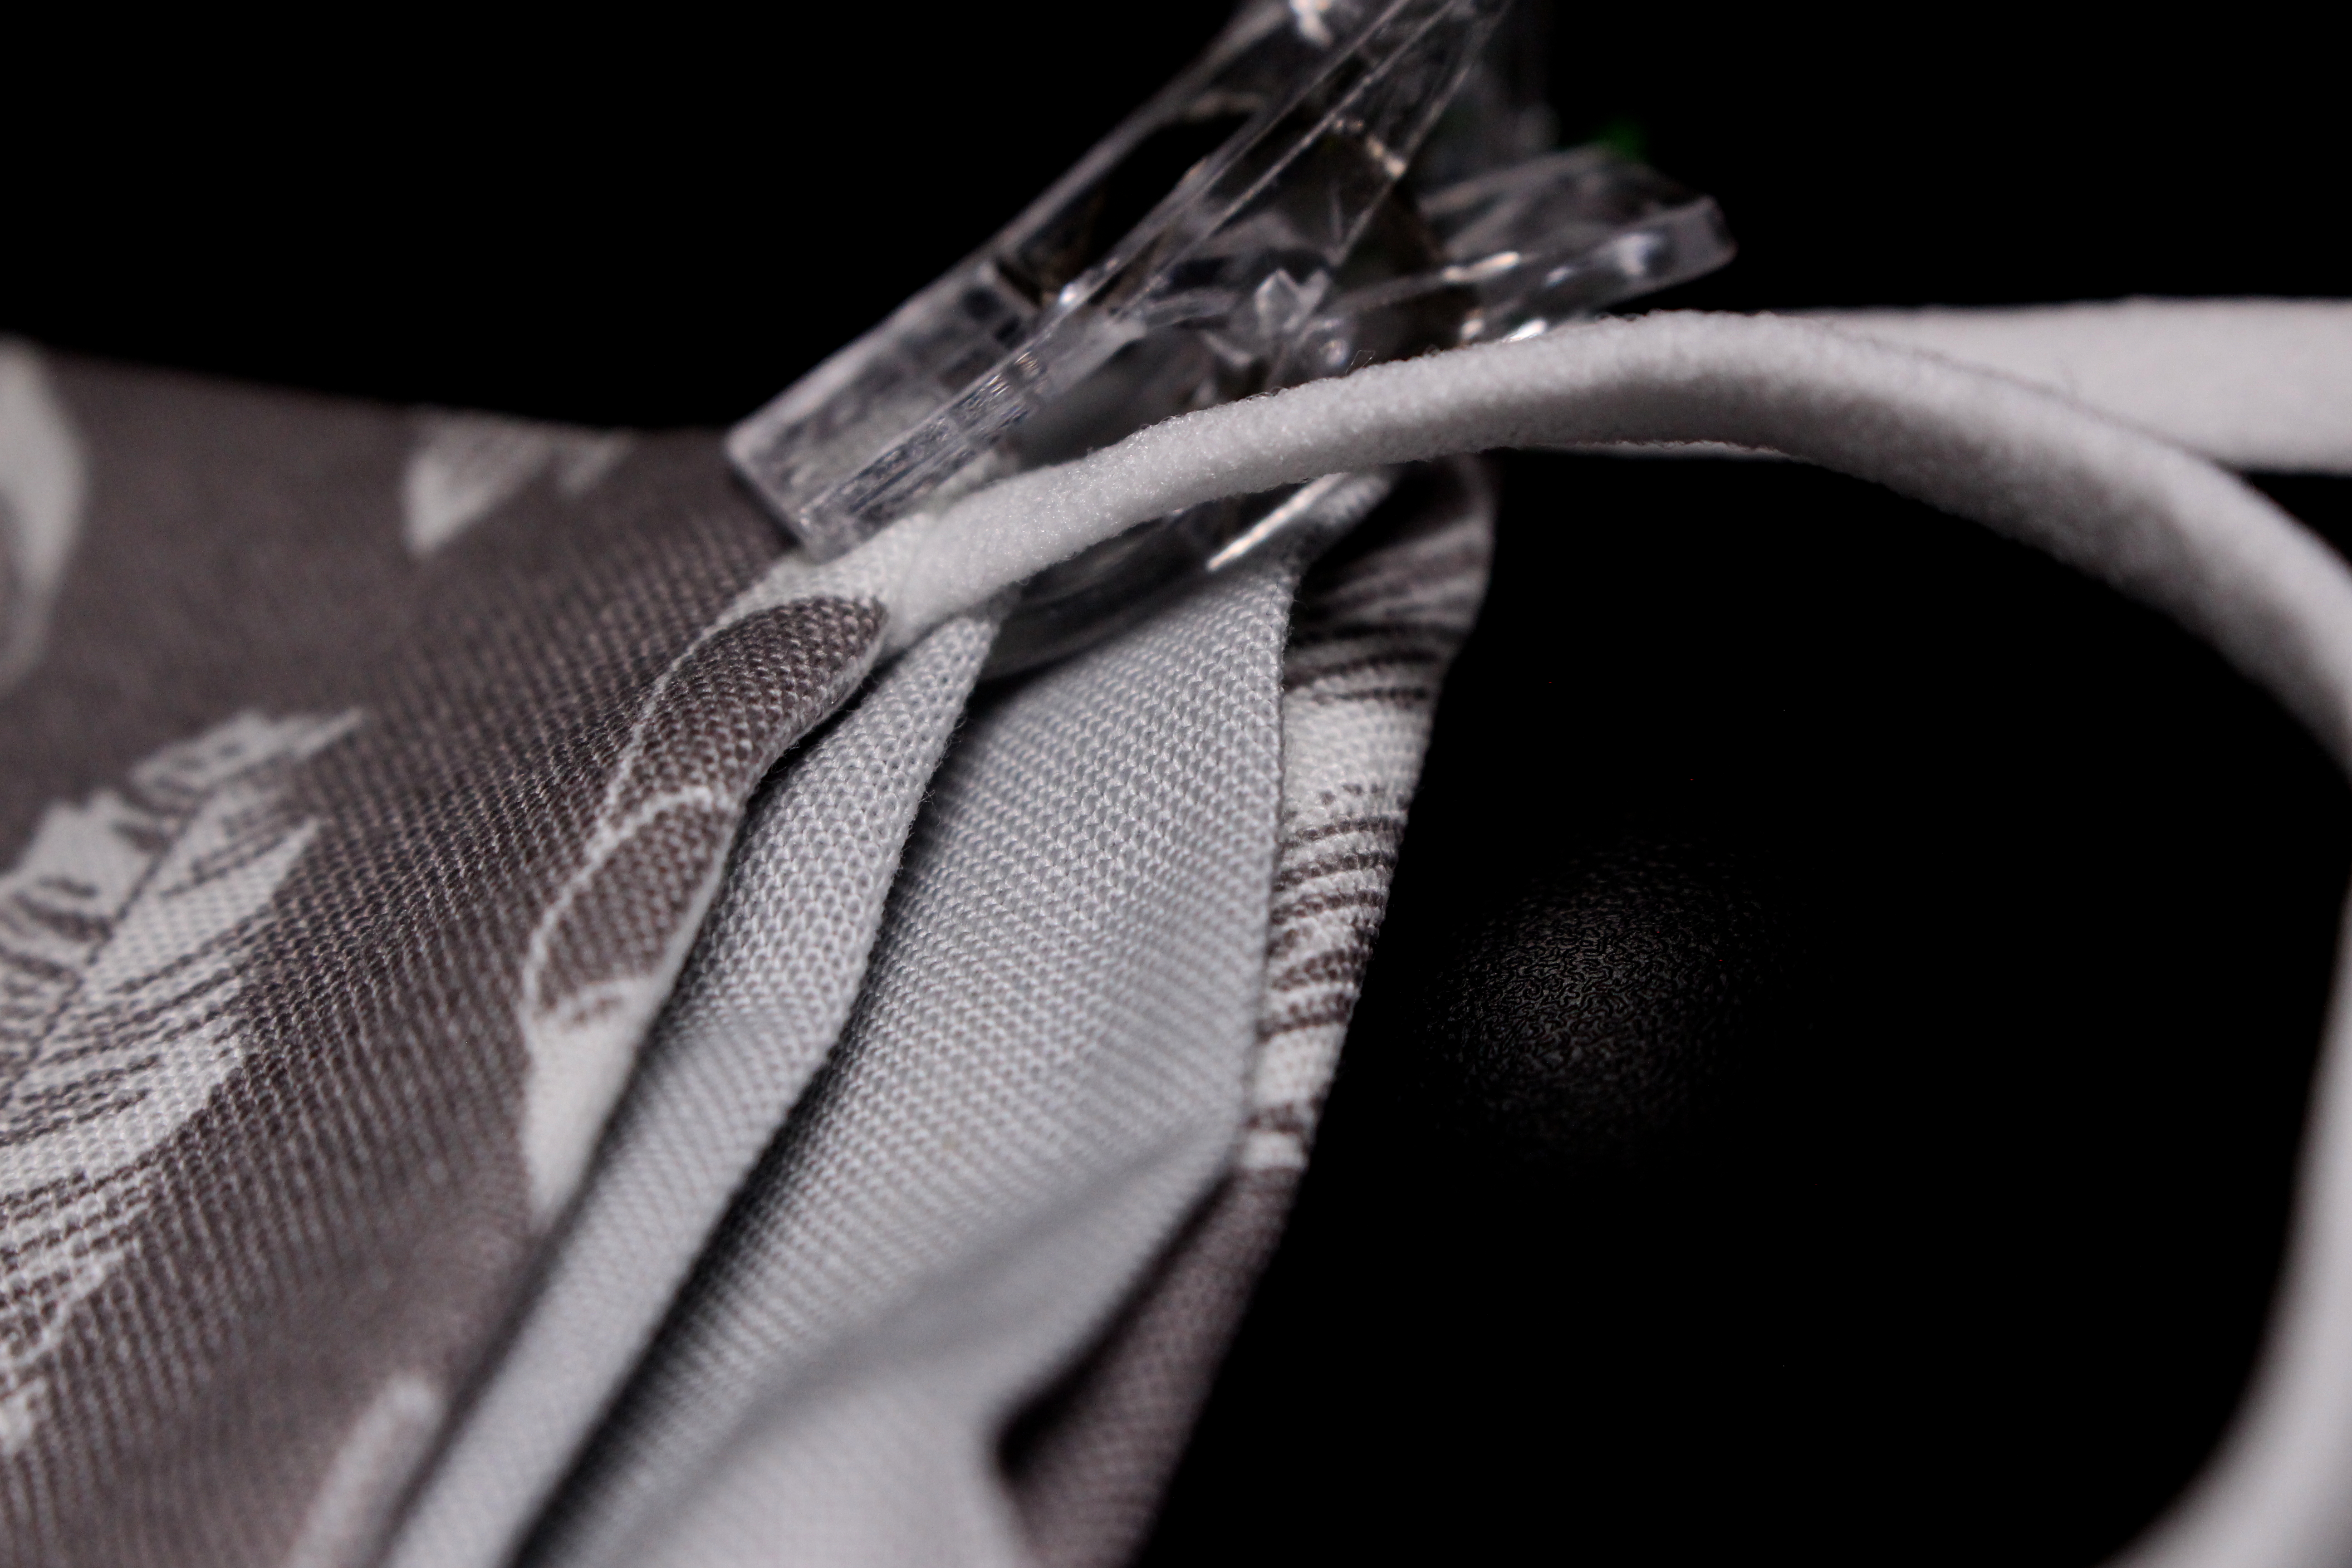
- Before pressing the seams, fold in the sides of the mask about half an inch in
- Press the seams of the mask.
- Put in the elastic on the side.
- Stitch the side of the mask along with the top and bottom about 1/16 inch.
- Once you’re done you will have your mask.


That’s it. Hopefully this makes sense. If you guys have any questions feel free to leave me a comment so I can clarify for you.
Until next time, Stay Beautiful

My Video
